
Tools and Materials
Tools
- Circular Saw & Blades
- Pneumatic Nailer & Compressor
- Reciprocating Saw & Blades
- Drill/Driver and Bits
- Hand Saw
- Ratchet/Socket Wrench
- Ratchet Sockets
- Hammer
- Utility Knife
- Tape Measure
- Chalk Reel
- Speed Square
- Framing Square
- Level
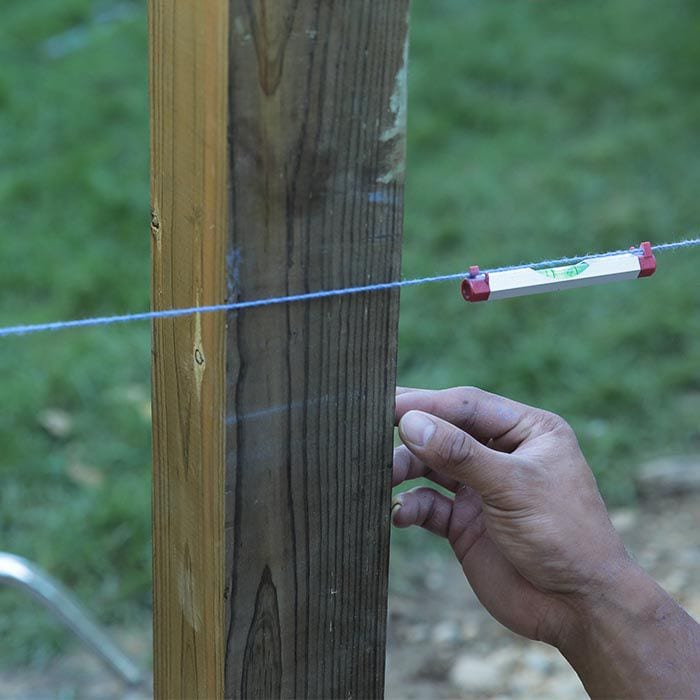
- Line Level
- Post Level
- Shovel
- Post Hole Digger
- Digging Bar
- Garden Rake
- Garden Hoe
- Wheelbarrow
- Trowel
- Saw Horses
- Clamps
- Work Gloves
- Eye Protection
- Hearing Protection
- Respirator
- Hammer Drill and Masonry Bit (Optional)
- Knee Pads (Optional)
- Power Auger (Optional Rental)
Materials
- Concrete Mix
- Gravel
- Concrete Tube Form
- Furring Strips
- Mason Line
- 2-in x 4-in Pressure-Treated Lumber (Actual: 1-1/2-in x 3-1/2-in)
- 2-in x 8-in Pressure-Treated Lumber (Actual: 1-1/2-in x 7-1/4-in)
- 2-in x 10-in Pressure-Treated Lumber (Actual: 1-1/2-in x 9-1/4-in)
- 4-in x 4-in Pressure-Treated Lumber (Actual: 3-1/2-in x 3-1/2-in)
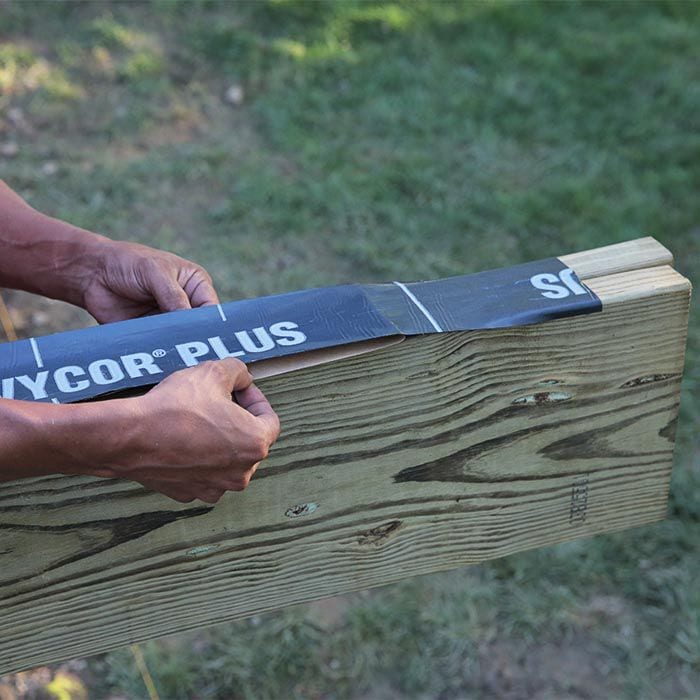
- Waterproof Tape/Roll Flashing
- Deck Screws
- Structural Wood Screws Rated for Pressure-Treated Lumber
- Exterior Wood Screws
- Deck Hardware Nails Rated for Pressure-Treated Lumber
- Joist Hanger Nails Rated for Pressure-Treated Lumber
- Concrete Anchor Bolts/J-Bolts
- Corner Brackets/Framing Angles
- Deck Post Bases/Brackets
- Deck Post Caps
- Rafter Ties
- Joist Hangers
- Landscape Fabric and Pins
Product costs, availability and item numbers may vary online or by market.
Pouring the Post Footers


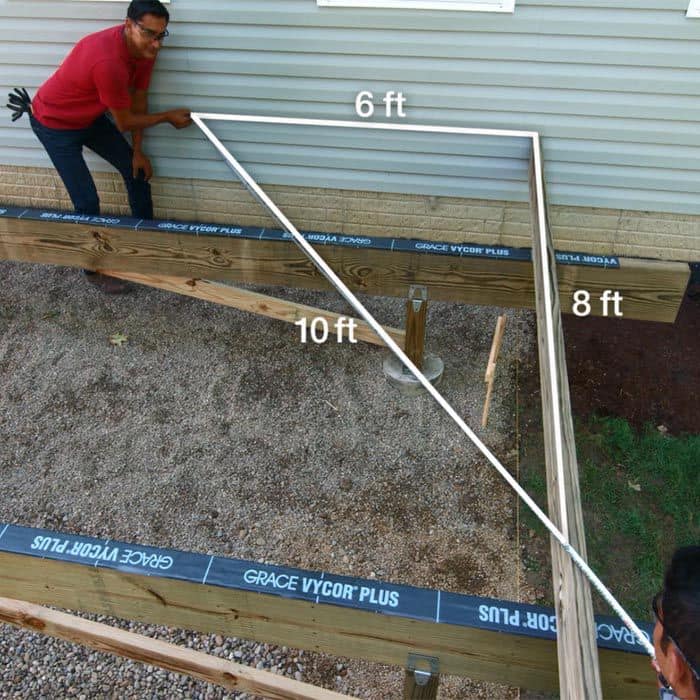
You'll need the post layout marked before you begin. For details on creating a post layout, see How to Build a Deck: Design and Layout.
Remember to follow local code for deck posts. There are several methods for setting posts. One way is to pour concrete in the post hole, set the post on the concrete and backfill with gravel.
To help prevent rotting, this deck will have wooden posts attached to concrete footers above ground.
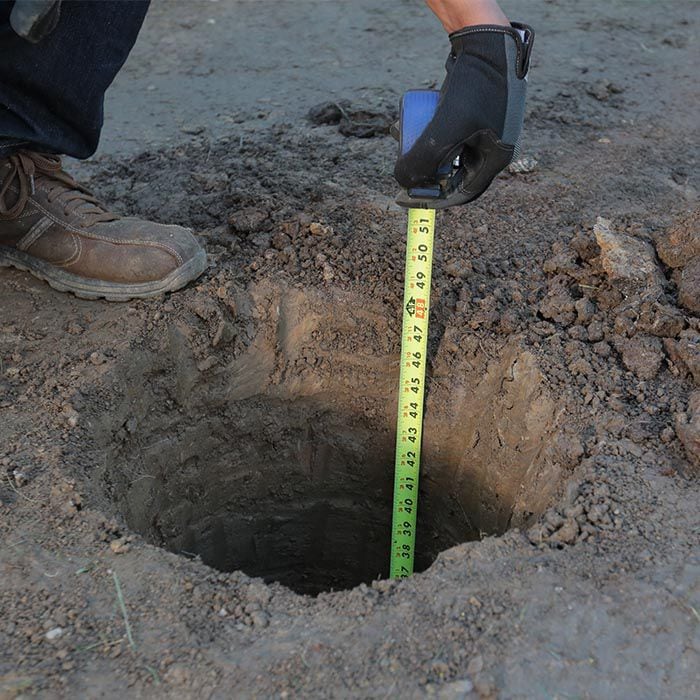
For either method, set the footers below the frost line — the level at which water in the soil typically freezes — to help prevent the ground from pushing up the posts (known as heave) during a freeze. Note that the frost line varies by region.
Our Concrete Holes or Pillars Calculator helps you estimate how many bags of concrete mix you need to set your posts.
Shop Your Deck Framing Project
Check below for the key tools and materials you’ll need to frame your deck.
Key Tools for Framing a Deck


Key Materials for Framing a Deck


Instructions


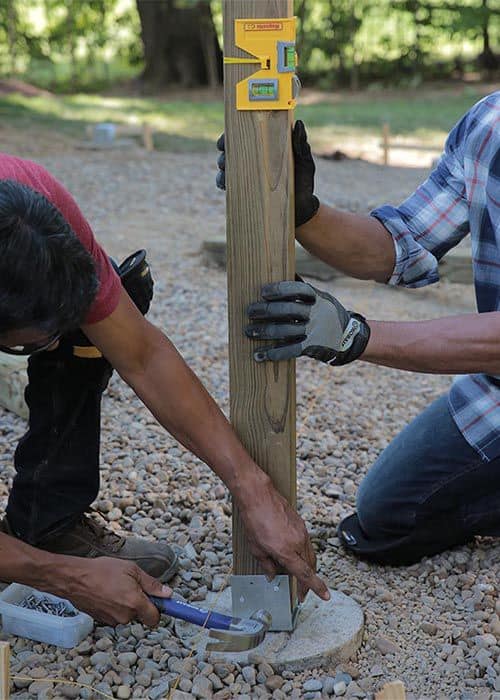
Anchoring the Deck Support Posts
The posts attach to the footers with brackets. Once the posts are set, you'll cut them to the correct height.
Instructions


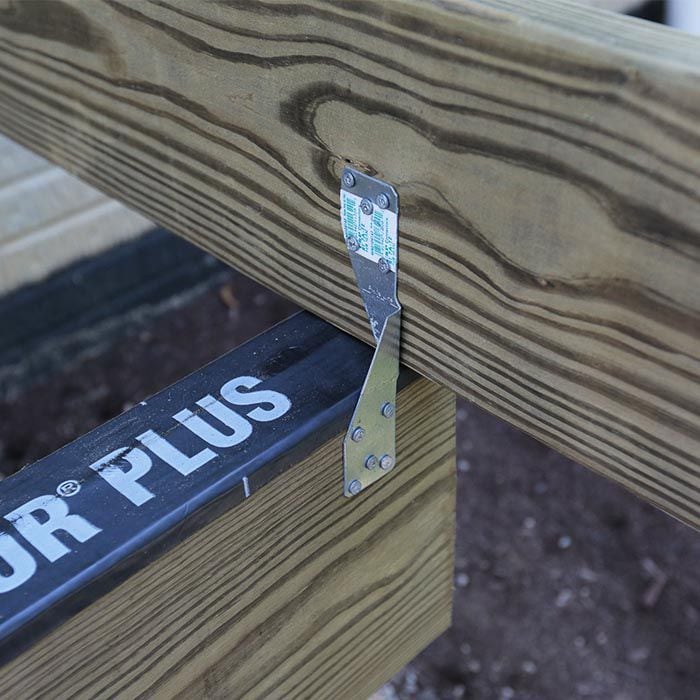
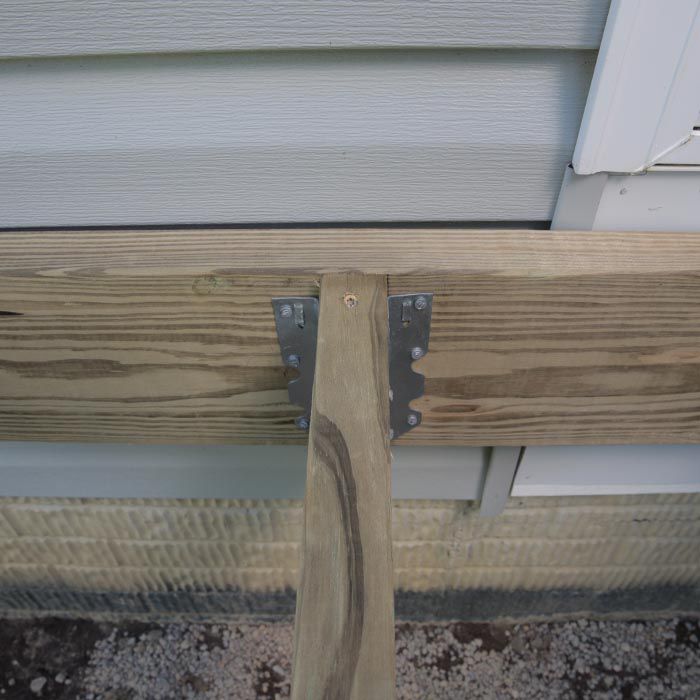
Attaching the Beams
The next step is to attach support beams, each made from two 2 x 10s.
Instructions


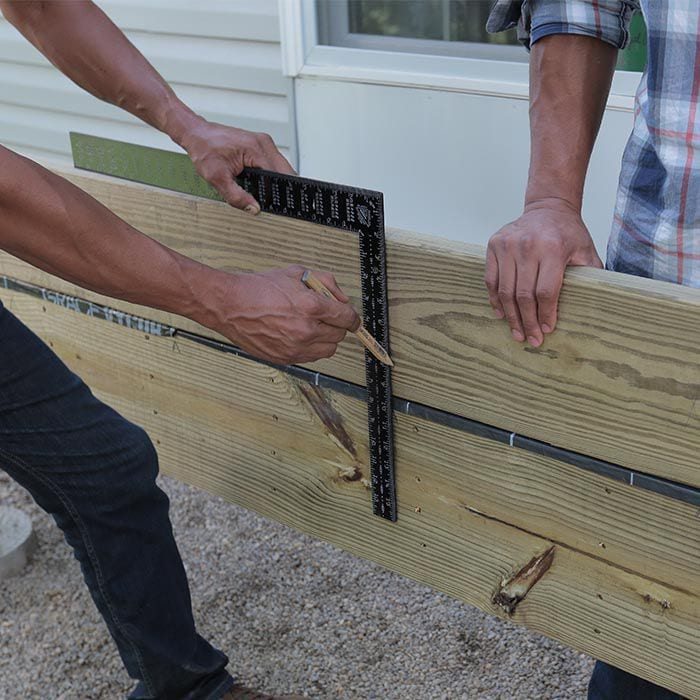
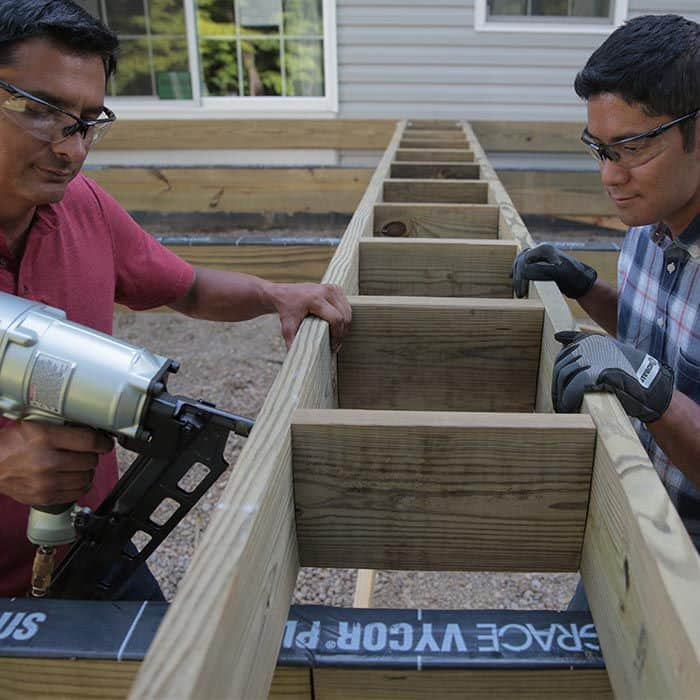
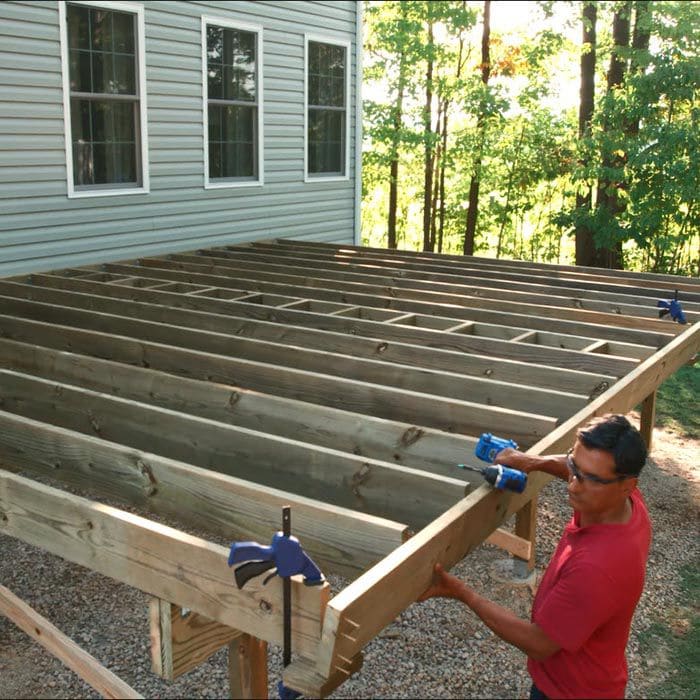
Building the Floor Frame
The floor frame includes the rim joists, end joists and floor joists.
Instructions


Working with Pressure-Treated Lumber
Guidelines
- Use fasteners and hardware labeled for treated lumber — stainless-steel or hot-dipped, galvanized screws.
- If the lumber is wet — it typically is when delivered from the store — butt it together tightly when building. Pressure-treated wood shrinks as it dries.
- Drill pilot holes in the ends of boards to prevent splitting when you nail or screw them together.
- Use wood rated for ground contact when necessary for the project.
Safety
- Wear a dust mask and eye protection when handling or cutting wood.
- Wash your hands after working with treated wood.
- Dispose of sawdust and waste according to local regulations.
- Don't burn pressure-treated wood.
- Don't use pressure-treated wood as mulch.
Read more about pressure-treated lumber and wood preservatives on the EPA website:
Next Steps
With the frame secure, the decking can go on next. We'll show you how to install a couple of types of decking in How to Build a Deck: Wood Decking and Railings and How to Build a Deck: Composite Decking and Railings and take a look at the entire deck series to see all the stages of building a wood or composite deck.