
Identifying Water Damage


Peeling and flaking wall paint, a stained ceiling, mold growth and musty odor are signs that your shower wall needs repair. Shower walls that have water dripping from the corners are a sign of intense water leakage.
Inspect the Shower Wall
The first step to fixing your shower wall is checking the damage. Assess areas like stained walls, warped wall areas and peeling wall paint.
Step-by-Step Guide on How to Fix Water-Damaged Shower Walls
Identify and Fix the Water Source

Before any repair, you must find and fix whatever is letting the water get behind the walls. Common culprits include:
- Cracked, loose or missing tiles
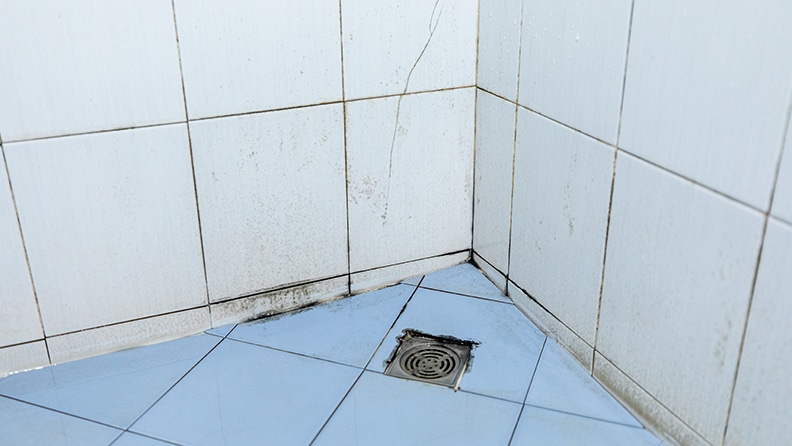
- Failed grout/caulk seals around fixtures, corners, floors
- Leaky showerhead, pipes or shower valve
- Poor bathroom ventilation causing condensation buildup
Remove Damaged Tiles
Take off the bathroom tiles affected by the water damage. Depending on the extent of the damage, use a hammer and a chisel to remove the tiles. Do not hurry through the process and be careful not to break the tiles.
Remove Loose Debris
Use a utility or putty knife to remove any bubbled paint, loosened-up drywall, crumbling grout, caulk or tile from the damaged area. Scrape aggressively until you've removed it all. Let this area dry out completely for 24-48 hours.
Install a New Waterproof Backer Board

Backerboards provide a stable and rigid base for tiles to be reinstalled. This prevents the tiles from cracking, shifting or becoming loose over time. Measure the area on the wall where you need to install the new backer board. Use exact measurements to make incisions for your new waterproof backer board. Affix the waterproof backer board to the wall using an adhesive.
Reinstall Tiles or Shower Panels
Reinstall the tiles in symmetry and use a thin layer of adhesive. Before reinstalling the tiles, cross-check the grout lines and ensure alignment with the intact tiles on the wall.
Sealing and Waterproofing
Preventing future water intrusion is critical, so take your time to waterproof the repaired area with a sealant. This prevents further water intrusion and protects the integrity of the repair.
- Select a high-quality, waterproof sealant designed for the type of material you've repaired, such as tile or concrete in this case.
- Thoroughly clean the repaired area, removing any loose particles. The surface should be clean and free of any dust or debris that could interfere with the sealant's adhesion or performance.
- Check the manufacturer's instructions for applying the sealant. This may involve using a caulking gun, brush, roller or spray application. Pay close attention to corners, seams, and any other potential entry points for water.
- Apply the sealant generously and evenly over the repaired area, ensuring complete coverage and no missed spots. Some sealants may require multiple coats for optimal protection.
- Once you've applied the sealant, let it sit until it's completely dry. This curing process makes sure the sealant is fully waterproof and protects the area. Avoid disturbing or applying any weight or pressure to the repaired area.
Preventing Future Water Damage
With a little effort and the right process, you will be able to maintain your shower walls. Regular plumbing checks and maintaining the waterproof sealant are key to keep your walls in good condition. Use bathroom mats, separate wet and dry areas and install exhaust fans to reduce water buildup.