Tools and Materials
Tools
Materials
- See Cutting Diagram for Wood Components
- 2 - 3-in Satin Pewter Cabinet Handles
- 2 - 4-1/4-in x 8-ft Base Moulding
- 2 - 15-in x 30-in Unfinished Oak Wall Cabinets
- 2 - 1/2-in x 3/4-in x 8-ft Baseboard Shoe Moulding
- #8 1-1/2-in Flathead Wood Screws
- 6D Finish Nails
- Interior Paint
- Primer
- 150-Grit Sandpaper
- 220-Grit Sanding Sponge
- Wood Glue
- Silicone Adhesive
- Painters Tape
Items may be Special Order in some stores. Product costs, availability and item numbers may vary online or by market. Paint colors may vary slightly from those shown. Availability varies by market for lumber species and sizes.
Do-It-Yourself Kitchen Island Benefits
A do-it-yourself kitchen island improves your kitchen in several ways:
- The DIY kitchen furniture expands your work area in the kitchen and gives you more prep space for meals.
- You’re building a kitchen island from cabinets, so you’re also extending your storage space for cookbooks, dishes, serving pieces and more.
- Since you’re designing the kitchen island yourself, you can create the look and functionality that works best for your home.
- As you learn how to make kitchen islands, you develop the skills and confidence you need to design and create other DIY kitchen furniture and take on more projects around the home.
Building a Kitchen Island From Cabinets


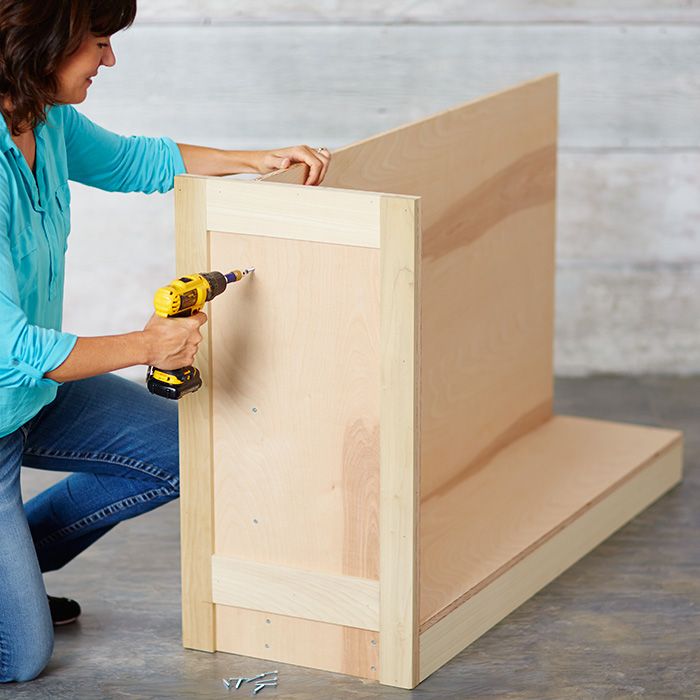
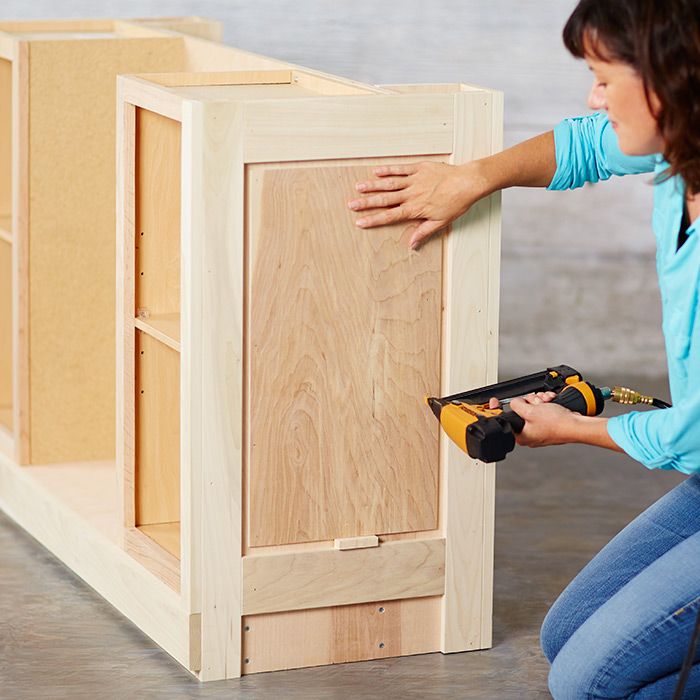
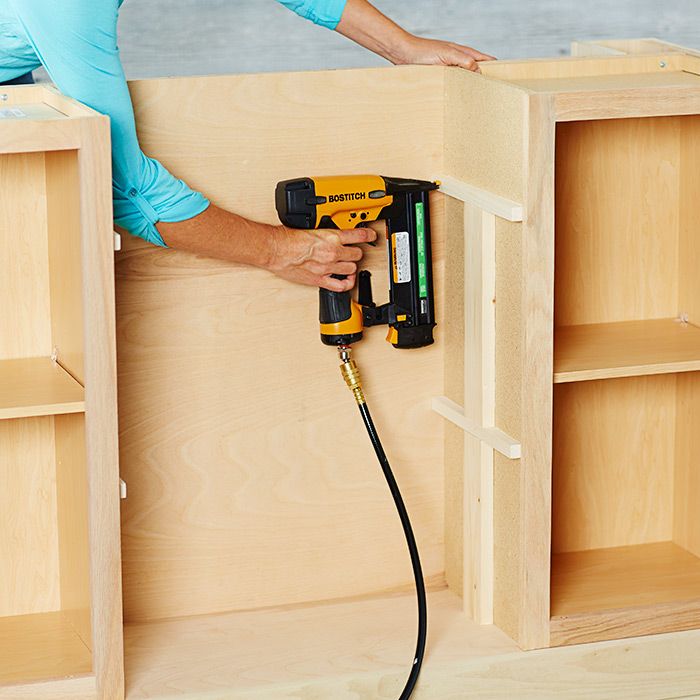
Turning your DIY kitchen island design into reality is relatively straightforward if you use stock cabinets for the island cabinets and doors. Use straight cuts on plywood and stock boards to wrap the cabinets. We’ve got plans and steps for a DIY kitchen island, but once you understand the steps and concepts, you can adapt them to customize the cabinet kitchen island as you like.
How To Make a Kitchen Island That’s Perfect for Your Home
Before you begin, consider these tips for designing a kitchen island that’s perfect for your kitchen:
- Size the do-it-yourself kitchen island to give you the space you need without making it more difficult to move from area to area in the kitchen. In general, you need to allow a minimum of 36 inches of clearance but ideally, 42 to 48 inches will be more comfortable and usable. If the kitchen needs to be wheelchair accessible, you might need as much as 60 inches to allow a wheelchair to turn around. Use the instructions below as a guide, but scale the measurements to fit your space.
- Think about your existing cabinets and countertops and how you can match or complement them with your new DIY kitchen furniture.
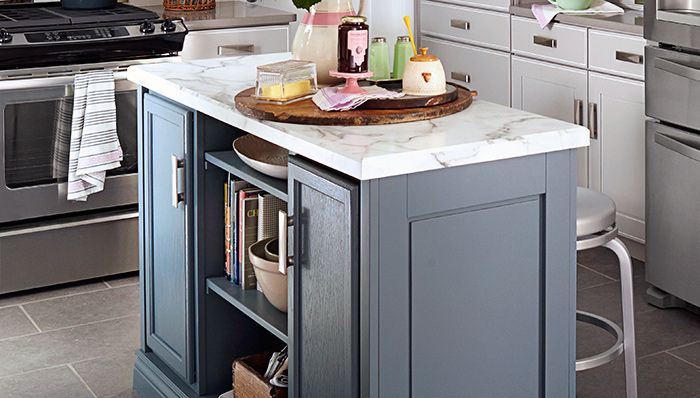
- Building a kitchen island from cabinets gives you an opportunity to create a new look for your kitchen by painting your kitchen cabinets or simply fine tune your décor with new cabinet hardware.
- For a larger and more impactful upgrade, you can pick a new countertop style for your kitchen island and install new kitchen countertops to match.
Do-It-Yourself Kitchen Islands: Your Options

The range of cabinet designs, countertop types and hardware styles gives you a lot of flexibility to create a custom kitchen furniture piece that fits your décor.
- Decide on traditional or transitional stock cabinets.
- Choose a door style, such as shaker or square.
- Select pulls or knobs from a huge range of finishes and designs
- Decide on your countertop. Popular in-stock materials include laminate, butcher block and solid surface options. Just make sure it matches or complements your existing countertops and doesn’t include a backsplash.
Before you begin building the island, order the countertop — for this design it’s 21-1/4 inches wide by 56 inches long — so it’s ready for installation once you complete the base piece.