
Tools and Materials
Items may be Special Order in some stores. Product costs, availability, and item numbers may vary online or by market. Paint colors may vary slightly from those shown. Availability varies by market for lumber species and sizes.
What Are Hypertufa Pots?
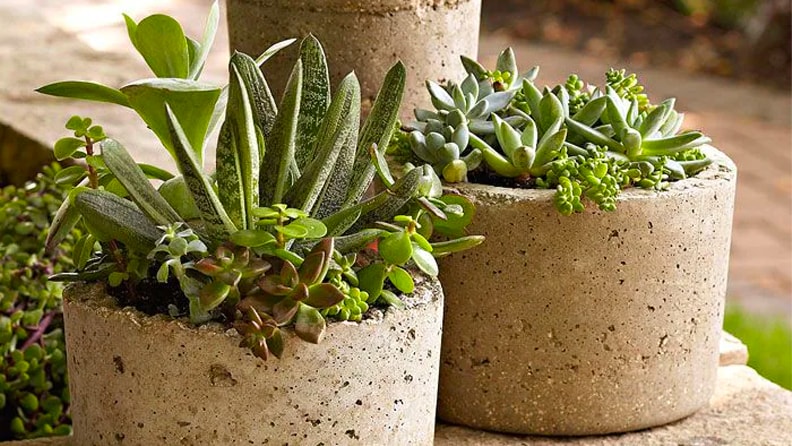
Hypertufa planters or pots are lightweight pots made from a mix of Portland cement, water, and perlite, vermiculite or sand. They’re popular for gardens and indoor planters, and the hypertufa mix can also be used to create artwork and ornaments.
What Grows in Hypertufa Pots?
Hypertufa planters are incredibly versatile, and you can grow a wide range of plants in these pots. Grassy plants, succulents like rock plants and conifers are popular choices, but these planters are ideal for most plants that need good drainage.
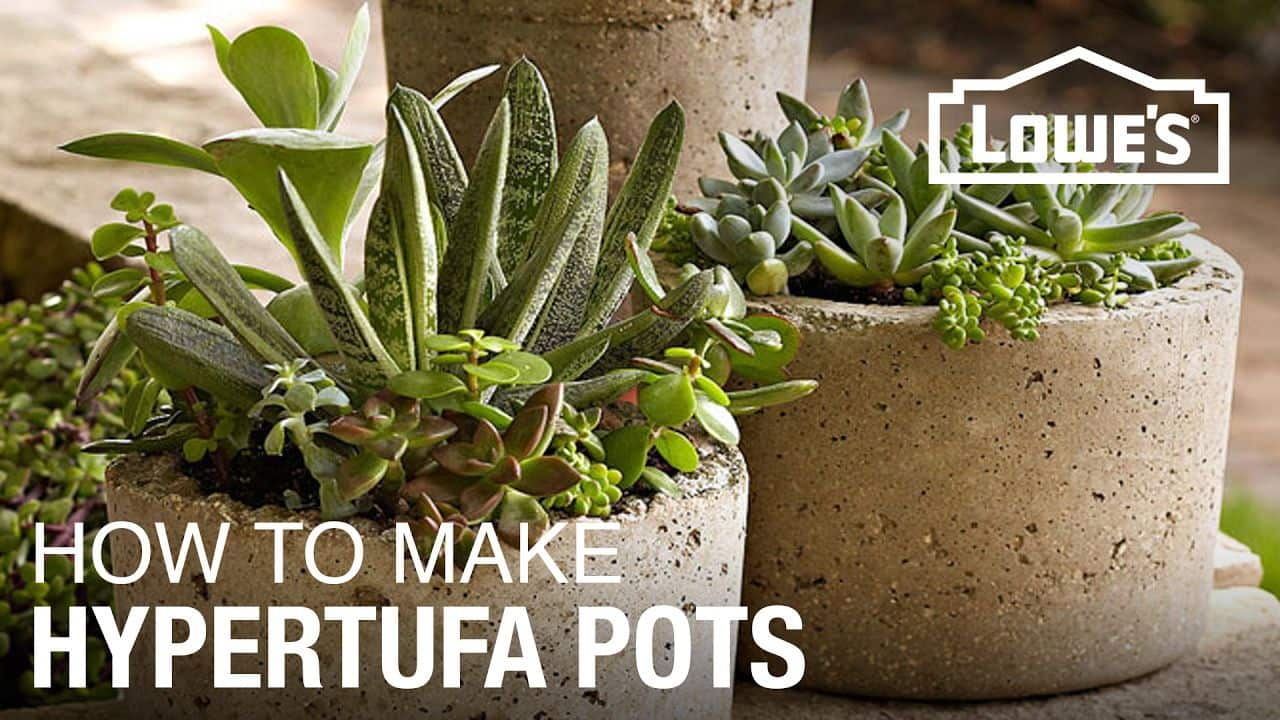
How to Make Hypertufa Pots
Follow these nine steps to make your own hypertufa pots.


Hypertufa Design Ideas
Now that you know how to make a hypertufa pot, get imaginative. Try changing your mold to make larger or smaller pots. Experiment with texture by choosing molds with designs or placing items — such as dowel rods — into the hypertufa mixture. You can also use the hypertufa mix to create interesting garden features like edging, sculptures, and fountains.
Filled with cheerful pink phlox and surrounded by bright white candytuft, this trough is an instant focal point.
Shape


Experiment with different container shapes — try troughs, rectangles and bowl-shaped pots. It’s okay to mix them — the common material links a collection of pots with varying shapes and sizes. You can even tie the look together with a decorative finish. In the example in the lower right, we painted the pots with copper spray paint and then used a rag to lightly dab on turquoise paint for a weathered look.
Texture
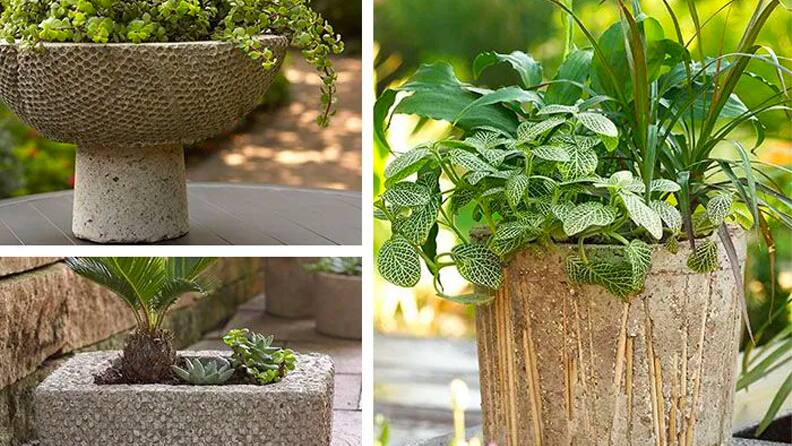
Part of hypertufa’s appeal is that you can experiment with different textures. In addition to a smooth look, you can create interesting effects with bubble wrap, a rug pad or even by embedding random bamboo into the hypertufa before it dries.
Placement

Hypertufa containers can be surprisingly lightweight, so you can easily place them wherever some decoration is needed. Because of its rustic look, a single hypertufa container fits right into a rock garden. Or, you can create a pleasing display by grouping an odd number of hypertufa pots together. Mix up the heights and widths for variety. Hypertufa is so easy to make, you may end up with more containers than you know what to do with. In that case, use them to expand the garden upward and outward. The collection on the right is housed on an old driveway, where gravel, garden art and plants help tie it together.

Once you know how to make your own hypertufa pots and other containers, you can create containers to fit any look or type of plant.
How Long Do Hypertufa Pots Last?
8 Quarts of Perlite or Vermiculite
How long a hypertufa pot lasts depends on what you add to the mix. Hypertufa planters made with perlite last up to 10 years, while those made with sand can last over 20 years.
Do Hypertufa Pots Need Drainage Holes?
Yes, even though hypertufa planters are porous, they need drainage holes to make sure you don’t overwater your plants. You can add drainage holes either before drying or after. To add before drying, use your finger or a dowel rod to make the hole while you’re forming the pot. To make a hole after drying, you can use a drill.
For small pots, add one hole. For larger hypertufa pots, you’ll want to add two or three. The bigger your pot is, the more holes you’ll need to ensure proper and even drainage.