
Kids' Toy Storage


A great trick for eliminating clutter is to stow everything in toy bin organizers that either complement or blend in with the room’s theme. Monica shares some stealthy storage solutions, which feature baskets that double as décor.
To start, sort and group the toys into like categories, such as model cars, action figures, blocks, etc. Soft, plush items — like stuffed animals — can go in fabric bins or rope baskets, which are especially good around young kids because the baskets don’t have sharp edges to harm the little ones. Use pails for small toys and toys with little pieces. Store books and heavier items in something more durable like a wooden basket. Wicker baskets with insert handles make for easy transport and are also good options for storing toys.
For a pulled-together look, place the baskets and bins inside a storage cube to keep the area neat.
Arts and Crafts Organization Ideas
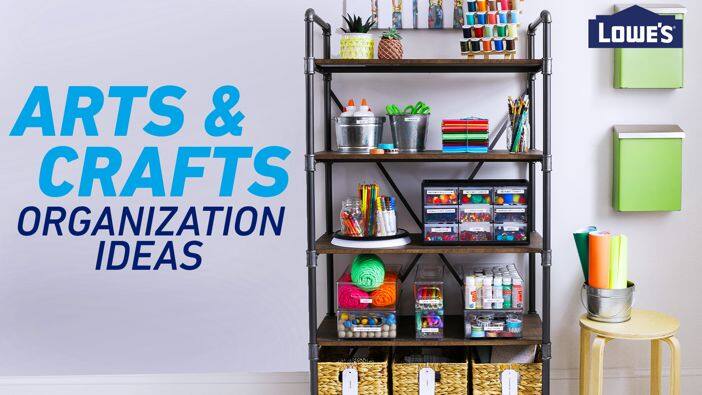
When all your kids’ art supplies have a home, it makes cleanup quicker and crafting more fun. Monica has some handy organization ideas and tips for storing yarn, tape, glue, scissors and more to help make you the toy organizer extraordinaire.
The first thing to do is sort the toys. Sorting at the outset helps you get a clear idea of what you have, organize it and make it easier to locate it when it's needed. When you’re finished sorting, place the items into different bins. Look for bins and drawer organizers that are clear and stackable. See-through bins allow you to see at a glance what’s inside and stackable bins are a real space-saver.
Combine a Lazy Susan, mason jars and a few strips of hook-and-loop fasteners to create a revolving centerpiece to hold crayons, markers, colored pencils and more. Bins and baskets work great for larger items. To take the organization one step further, make sure to label each bin so that the kids know what goes where. When storing the craft supplies on the shelf, place the most used items at eye level and within easy reach for the little ones.
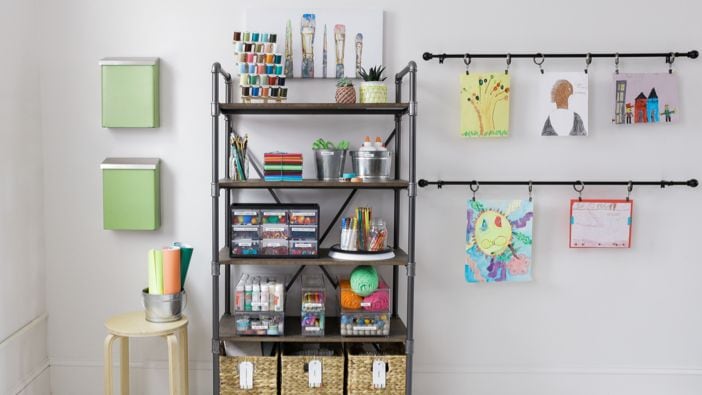
School and Artwork Organization Ideas

The refrigerator is a great place to hang your kids’ artwork, but what happens when you run out of room? Turn any corner into a mini gallery with only a few easy-to-install items.
Start by attaching a curtain rod to the wall using the brackets and screws provided with the rod. You can go as fancy or as plain as you like with the rod. If the screws don’t hit studs, use drywall anchors to ensure the rod is hung securely. Slide the curtain ring clips onto the rod. The last step is to attach the works of art using the clips and then step back and admire the gallery.
The wonderful thing about this project is that your kids can swap out their masterpieces whenever they want. When it’s time to retire the artwork or keep track of schoolwork, a wall-mounted mailbox works wonders for keeping papers neat and tidy. Spray-paint the mailbox the color of your choice to help it blend in perfectly with the décor.