
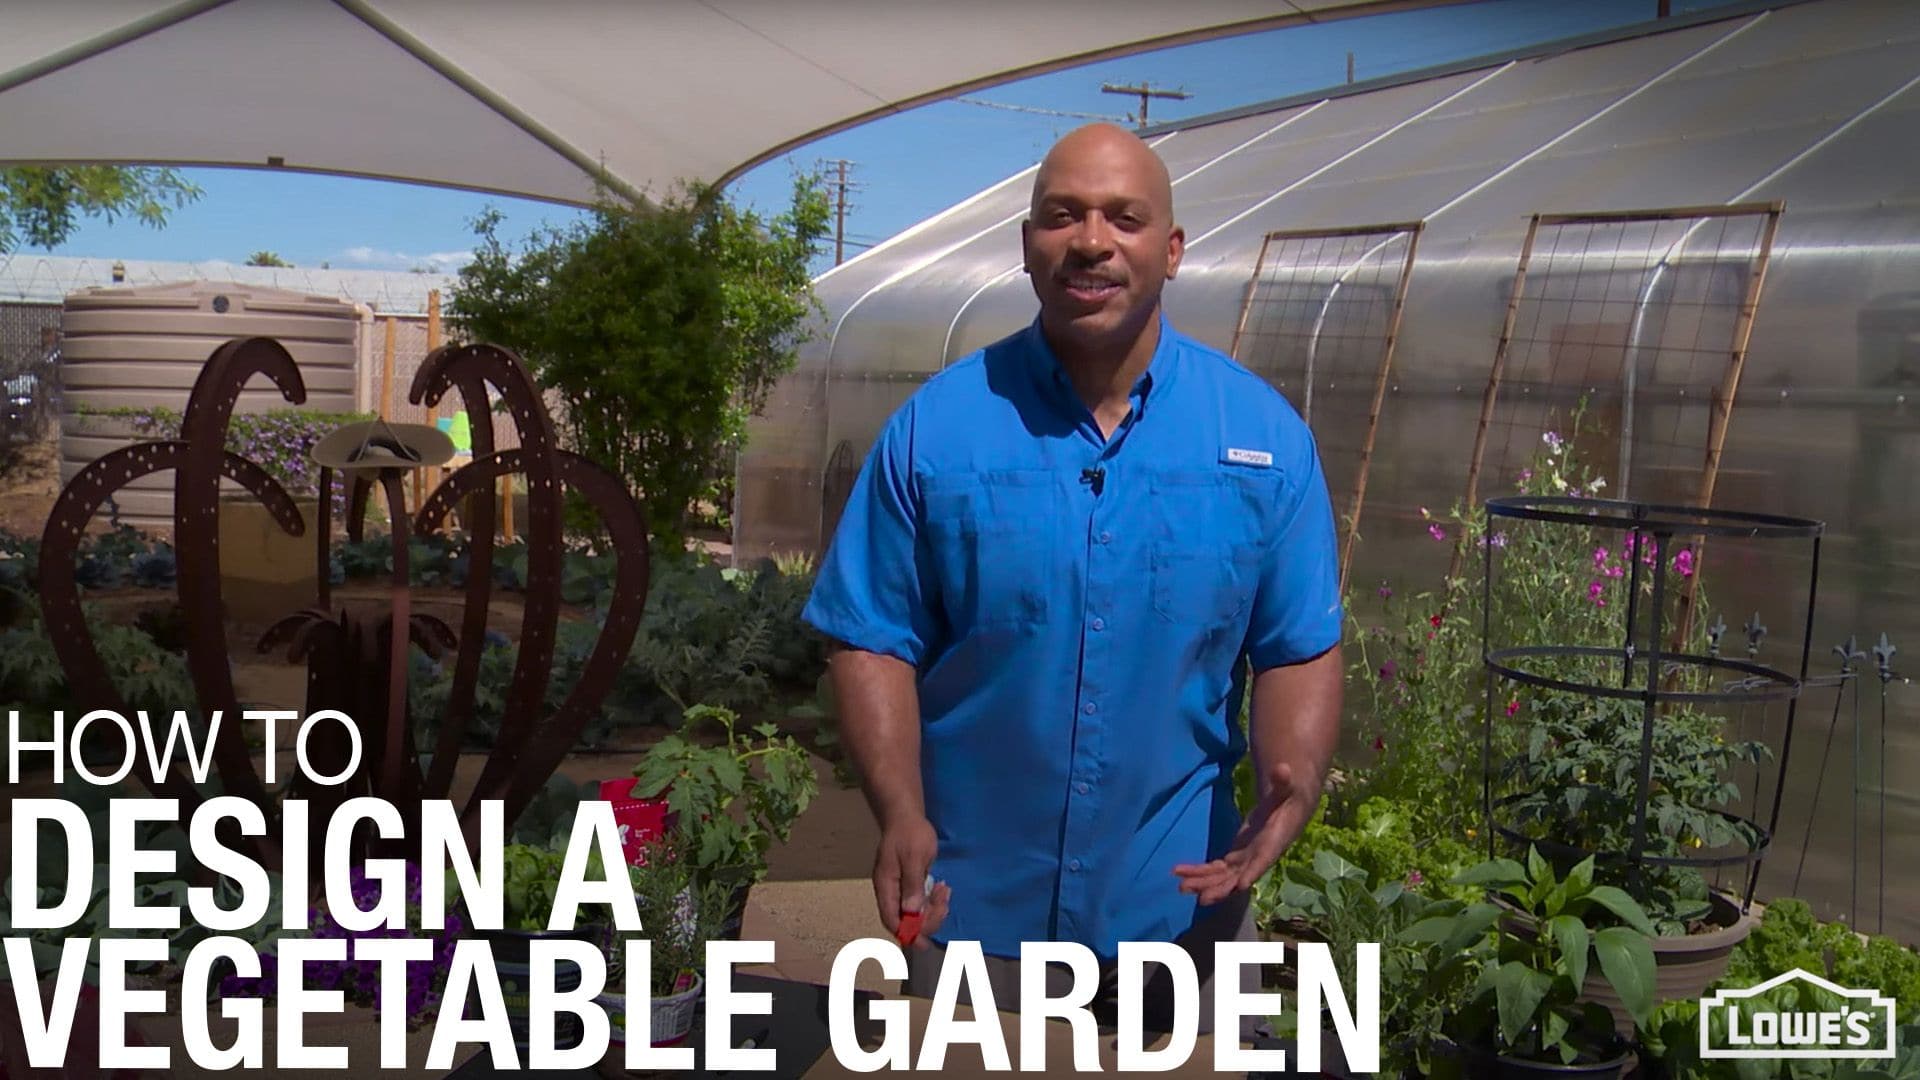
Select a Location for Your Garden


Most vegetables require a sunny, well-drained spot to do their best. Look for a location that gets at least six hours of sunlight each day. If you’re planning during winter, visualize your garden during the growing season when any nearby trees have leafed out. Locate your vegetable garden near a water source so you can irrigate easily when rainfall is limited. A gentle slope is good for drainage and sun exposure; steeper slopes will need terracing to prevent erosion.
Next, you can decide between a couple of vegetable garden plans — growing your produce in rows or raised beds.
- Row cropping: If space is available, add plants or sow seeds in rows spaced 18 inches apart to allow a walking path. For the best sun exposure, run rows east to west and place taller vegetables, such as tomatoes and pole beans, to the north side. Row cropping is recommended when you’re growing lots of one type of plant (e.g., corn or pumpkins) or if your gardening space runs along a fence.
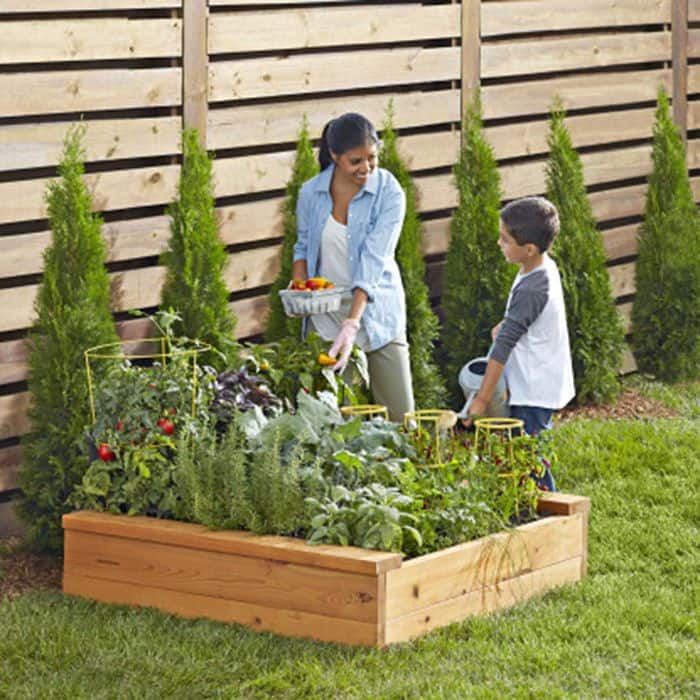
- Raised beds: The soil in raised beds warms up quicker in spring, allowing you to get an earlier start on the growing season. A side benefit: Raised beds require less bending and stooping. Make sure the center of the raised bed is within reach (a 4-ft x 4-ft bed can be accessed from any side without compacting the soil). If you fill the raised bed with a quality soil mix, you can grow more plants in less space. For instance, you can grow lettuce between tomato seedlings, because cool-season lettuce will be harvested before warm-season tomatoes mature. Then replace the lettuce with basil in summer.
You can build your own raised bed or purchase a raised bed kit.
If space is limited, you can grow vegetables in containers. Tomatoes, peppers, radishes, leaf lettuce, and other greens can flourish anywhere. The trick is to select a planter big enough to accommodate a mature plant. Then fill it with a quality soilless potting mix that contains fertilizer and water-absorbing crystals to keep it from drying out too quickly. Be sure to stake or cage large plants, such as tomatoes.
Prepare Your Soil for Planting

If you’re planting directly in the ground, test the soil to see which soil amendments and nutrients are needed—you can buy a soil test kit or send a soil sample to your local extension service for testing. Gather soil samples from several spots and mix together before testing.
Once you know what the soil needs, you can prepare the bed. Refrain from working soil when it is wet. It’s messy and you can damage the soil’s structure, making it harder for roots to grow. Here’s an easy test: Pick up a hand full of soil and squeeze into a ball. Then poke the soil. If it falls apart, the soil is dry enough to work. If it stays together, wait for it to dry out further before proceeding.
Tilling and turning the soil helps loosen compacted ground and work amendments such as compost and aged manure into the soil. Many gardeners purchase a tiller or a cultivator to work garden beds; however, you can also do it by hand with a spade fork or shovel. (Raised beds do not require tilling unless they have been trampled.)
The next step is choosing your vegetable garden fertilizer. Fertilizer replenishes soil nutrients, promoting healthier vegetables that are more resistant to disease. Fertilizers are generally available in water-soluble form (for quick results) and slow-release granules (for a steady supply of nutrients over several months). You can choose organic or inorganic fertilizer.
Organic fertilizers are made from plants, animals, and fish. The nutrients are a bit heartier and require more time to break down before they become available. Manures are also considered organic fertilizers. They are bulkier but contain fewer nutrients than other natural fertilizers. Often, gardeners choose manure because it improves the texture of the soil by raising the level of organic matter.
Inorganic fertilizers, also known as chemical fertilizers, contain a mix of nitrogen, phosphorous, and potassium. The levels of these ingredients vary by brand, but it’s important to choose one with all three major nutrients in somewhat even proportions, such as 10-10-10. Read the label to ensure the fertilizer is suitable for your vegetable garden. Inorganic fertilizers usually show results within 1-2 weeks.
Decide What and When to Plant

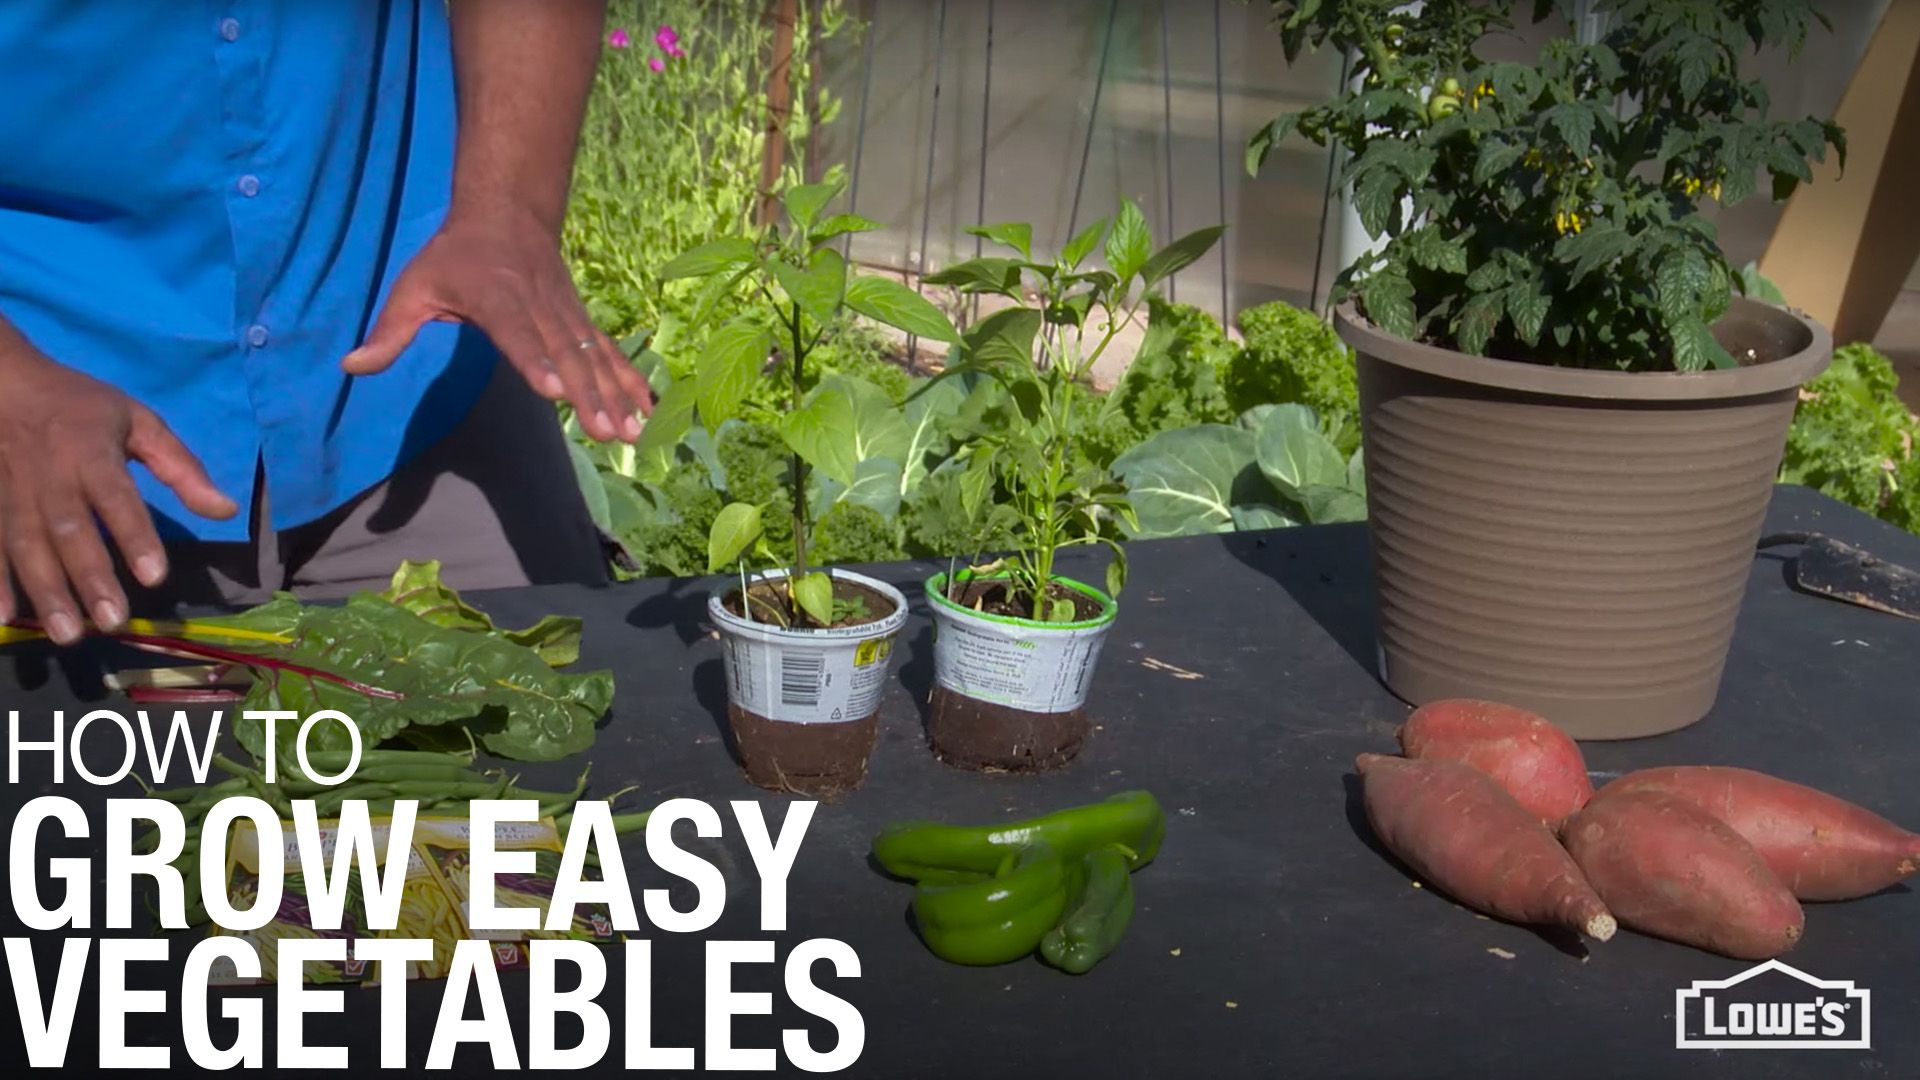
The next step is figuring out which vegetables and herbs to grow. Think about what you’re going to eat—don’t bother planting and tending a crop that won’t come anywhere near your dinner plate. Cucumbers, green beans, tomatoes, and summer squash are among the easiest to grow. Tomatoes, peppers, and squash bear all season long so you might not need many plants. Others, such as carrots, radishes, and beets, produce only once, so you may have to plant more than one crop.
- Easy Vegetables and Fruits to Grow at Home
- Summer Vegetable Garden Plan
- Small Space Raised Vegetable Bed
Before planting, identify your area’s last average spring frost date as well as the first average fall frost. As a rule, you’ll want to plant after the last spring frost and harvest before the first fall frost. If you’re anxious to start growing something early in the season, try frost-friendly vegetables, such as peas, kale, lettuce, and radishes. They flourish outdoors in the cooler temperatures of spring and fall. You can also sow tomato and pepper seeds indoors, then transplant them outdoors once the chance of frost has passed.
Gardening With Children
Gardening with a child can be a great educational opportunity; planting and tending a garden teaches the lessons of nurturing, patience, ownership and responsibility. Mixing the good chores with the bad helps young gardeners take pride in their efforts, but a child can be disappointed when plants do not grow. While instant gratification is difficult in the garden, there are a few plants whose seeds are fast-germinating (5-10 days), such as: zucchini, radishes, pumpkin, peas and cucumbers.
Bedding plants from the garden center are also an option. They are ready to take home and plant. Let the children pick them themselves. Annuals are great. They grow fast, produce profusely, whether flower or vegetable. Berries or other fruits are always good choices. For example, picking blueberries is a great pastime. Remember that for many fruit varieties, especially fruit trees, you will have to wait several years before they bear fruit.
In addition to plants, planting a shade tree is truly a long-term family project. Plant one to honor a family member or special date (don't forget to take pictures). Don't forget to have a bench, swing or hammock where you can rest and enjoy your hard work. Taking photographs and keeping a garden journal allows you to keep track of your efforts, and a garden journal will also be a great keepsake for years to come.
Get more ideas from our Gardening Basics video: What are the 5 Easiest Vegetables to Grow?
Planting Vegetables
Lowe’s garden centers always stock in-season plants, so it’s easy to figure out which vegetables are appropriate for planting. Look to the plant tag or seed packet for details on spacing, watering, and maturity dates.
Quicker-growing plants are generally grown from seed sown directly in the garden. Lettuce, peas, radishes, and beets are some early season favorites. Beans, corn, squash, cucumbers, and watermelon are summer plants easily raised from seed sown outdoors in late spring. Refer to seed packets for specific growing advice.
Those new to vegetable gardening should try at least a few plants to ensure success. Unlike seeds, plants are already established, so they’re easier to nurture when young and quicker to deliver a crop, too. You’ll get faster results planting peppers, tomatoes, broccoli, cauliflower, and most herbs rather than sowing seeds.
When planting, it’s also important to know which vegetables to place side by side. Some vegetables flourish well next to others, some don’t. Researching vegetable companions will ensure a fruitful crop.
Weeds and Pests
Many vegetable gardens are swallowed up by weeds in a few weeks. There are three ways to prevent that:
- Hoe bare soil around plants. Freshly sprouted weeds are easily uprooted by hoeing—but you need to hoe every few days. Hoeing also loosens the soil crust, allowing water and fertilizer to percolate through the soil. Hoe only the top inch of soil to prevent damaging the roots of nearby vegetables.
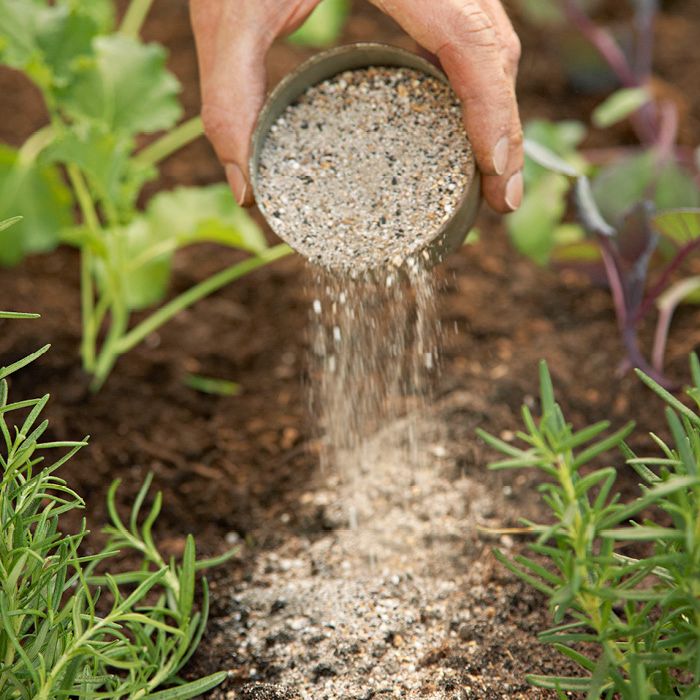
- Sprinkle a seed inhibitor, such as Preen, around plants. This will keep weeds from sprouting. It also keeps other seeds from germinating, so don’t use a seed inhibitor if you’re sowing vegetable or herb seeds.
- Mulch. Just like in the ornamental garden, mulch is a big help in preventing weeds. Good mulches for the vegetable garden include straw, shredded leaves, and compost. Mulch feeds the soil as it slowly breaks down over time. It also helps moderate soil temperature and slow water evaporation.
If animals find your vegetables as irresistible as you do, fencing can keep out some mammals such as deer, rabbits, and groundhogs. Insects are a little trickier. While some insects are actually beneficial to your garden, others are harmful and can quickly spoil a crop. The best way to counter an infestation is to identify what insect is invading your garden, then research the best remedy. As with fertilizers, pesticides come in both organic and inorganic formulas.
Watering
Irrigation is critical to vegetables. A good soil mix that includes peat moss and compost will help soil hold moisture for plants. Water deeply once a week if rain is lacking. A soaker hose or drip irrigation system is more efficient than overhead watering. If using an overhead sprinkler, water in the morning so moisture can dry from foliage before nightfall and not encourage foliar diseases.
Harvesting

One of the reasons people grow vegetables is to enjoy the fresh-picked flavor. Seed packets and plant tags usually estimate days to harvest, but bear in mind that maturity dates can vary depending on the weather and conditions in your garden.
Believe it or not, there’s an art to picking vegetables. Twist, cut, or snap the vegetable to avoid injuring the plant. With root vegetables such as carrots, first loosen the soil with a spade fork, then carefully pull the vegetables out of the ground to avoid disturbing nearby plants. Harvest crops regularly. This is not only your reward—it also encourages many plants to continue bearing a crop. When possible, harvest in the morning for best freshness.
Got a surplus? Donate to friends, neighbors, and food banks. Canning, drying, and freezing are ways to save your harvest for later use.
Preserving Fruits and Vegetables

If your garden is successful, you might find yourself with more fruit and veggies than you can handle (or give away). The best thing you can do is preserve your harvest by canning, freezing or drying.
Canning follows pretty straightforward guidelines. It requires more effort and equipment, but the results are almost foolproof if you follow the instructions carefully. Tomatoes and beans are two summer crops that be canned very successfully. Jellies, jams, and preserves are perfect for using extra fruit, but don't think jellies are only good for PB&J sandwiches. Jellied herbs and garlic make excellent condiments and spreads.
Freezing is a simple means of preservation. Some vegetables will need blanching before freezing. Not all goods freeze with acceptable results — avoid lettuce, green onions, uncooked tomatoes, and radishes. Herbs, however, can be frozen successfully.
Drying is easy, but not necessarily simple. If you dry food too fast, enough moisture will remain to allow bacteria to grow. If you dry too long, you may end up with dust. The idea is to find the proper heat needed to remove moisture but not cook the product. Drying times vary based on the type of food and the drying method used.
The traditional method for drying fruits is air drying outdoors. Food is spread on racks, screens, or tables; the sun and wind do the rest. An obvious drawback to the outdoor method is the exposure to insects and the uncertainty of weather. Fruit dried outdoors also needs to be treated with sulfur or ascorbic acid to prevent spoilage and darkening. To avoid the complications of the outdoor approach, drying can be done in conventional and microwave ovens. Food dehydrators are the most reliable drying tool since they are designed specifically for that purpose.
Follow these general guidelines when drying foods:
- Use quality produce. Preserving will not improve its taste, texture, or looks.
- Always practice cleanliness.
- Food dries better when cut into uniform pieces.
- Store in a cool, dark place in airtight containers.
- Dried foods can also be frozen. When preparing recipes with dried foods, remember they have a more intense flavor.