
Tools and Materials
Product costs, availability and item numbers may vary online or by market.
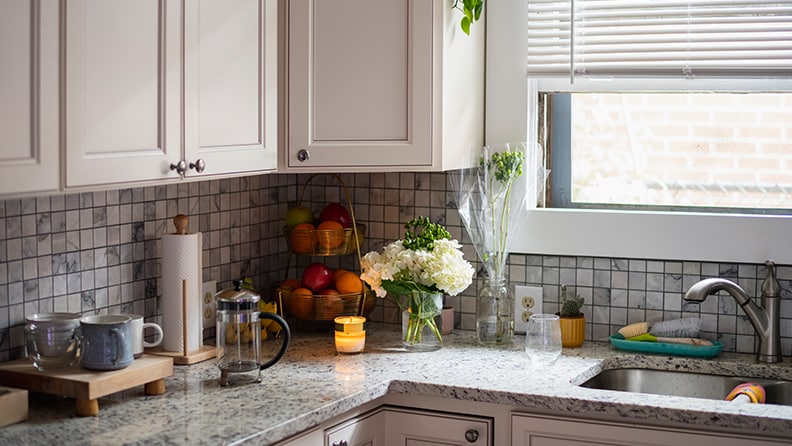
How to Reglaze Bathroom Tile or Kitchen Tile
If your tile appears old, worn or outdated, you can either replace it or refinish it. To reglaze or resurface bathroom tile, you’ll need to apply a liquid epoxy or resin product that creates a hard, glossy finish on the tile after it dries. Since tile refinishing and resurfacing kits contain most of what you’ll need for the project, you may not have to buy some of the tools and materials we listed above. Resurfacing your tile is a way to renew the look of it for much less than the cost of tile replacement.
Always read and follow your refinishing kit’s instructions. Here are the basic steps to complete a kitchen or bathroom tile refinishing project as well as tips and considerations to keep in mind along the way.
Refinishing tile isn’t a good option for heavily worn tile with chips and cracks. In those cases, it’s best to replace your tile.
Step 1: Plan and Prepare


Reglazing tile is a multi-day job due to the drying time it requires. This means you won’t be able to fully use the reglazed area for at least a few days. If you’re starting a bathroom tile reglazing project, plan to use a different bathroom for the duration of the project since moisture and humidity will interfere with the drying process.
Before you begin, make sure your space has proper ventilation. Cleaning agents and reglazing chemicals are irritants, so use fans and open windows to ensure adequate airflow. Consult the refinishing kit’s instructions to determine the humidity level and temperature range your product needs to work.
Clear your work area of all loose items. If you’re reglazing your shower or bathtub, remove shower curtains and any other removable items.
Read your refinishing product’s warning information. California residents should note Proposition 65 warnings on chemical exposure.
Step 2: Scrape, Clean and Sand Your Tile

Put on gloves and eye protection and use a putty knife to scrape off any debris on your tile. Then, clean your tile thoroughly with a tile cleaner or all-purpose cleaning powder. Be sure to check your kit for specific cleaning instructions and use any cleaning agent the kit contains. You may want to wear a mask to protect yourself from the fumes.
Scrub your tile to remove all dirt and soap residue. Be sure to rinse thoroughly since leftover soap residue will prevent proper bonding.
Sand down the tile while working in a circular motion. Rinse well.
Using a fine-grit sandpaper, such as 120-grit sandpaper or above, will help prevent damage to your tile.
If you plan to replace your caulking, remove it with a putty knife or razor blade.
Step 3: Protect Surfaces and Fixtures
Wait for the tile surface to dry completely and then apply painters tape to areas that are adjacent to the tile. Wrap any nearby fixtures, such as bathtub faucets and shower heads, with a plastic covering. Lay a drop cloth to protect the floor and nearby fixtures, such as the toilet.
Step 4: Dust and Prime
Wearing a respirator, wipe the tile with a tack cloth to remove any remaining dust or debris. Then, apply the primer by following the instructions in the refinishing kit. Lastly, allow the primer to dry for the specified time.
Step 5: Mix and Apply Reglazing Product
Thoroughly mix the reglazing formula from the refinishing kit. This usually consists of a color and a hardener. Then, let it sit according to the product instructions before pouring it into a paint tray. Use a foam brush to apply the coating in corners, around edges and in other areas the paint roller can’t fully access. Then, use the roller to cover your tile, being careful to apply an even coat.
Always fully saturate your roller with the reglazing formula before rolling. Never roll when it’s dry.
Keep refinishing products away from children, pets and others with fume sensitivities.
Step 6: Apply a Second Coat
Let the coating dry according to the product directions. Then, apply a new coat in the same manner, working in the same direction as before. In some cases, you may need to apply a third coat, such as when making a dramatic color change.
Step 7: Allow to Dry
You should typically wait at least 45 minutes before removing the painters tape. Pull at a 45-degree angle for the cleanest removal. Then, let the newly refinished tile cure for as long as the product instructions suggest. If you removed the caulking before painting, wait until the finish is completely dry before re-caulking.
Step 8: Clean and Enjoy Your Reglazed Tile

Once the coating has fully cured to a hard finish and any new caulk has dried, clean the tile with a nonabrasive cleaner. After that, your newly reglazed tile is ready to enjoy.