
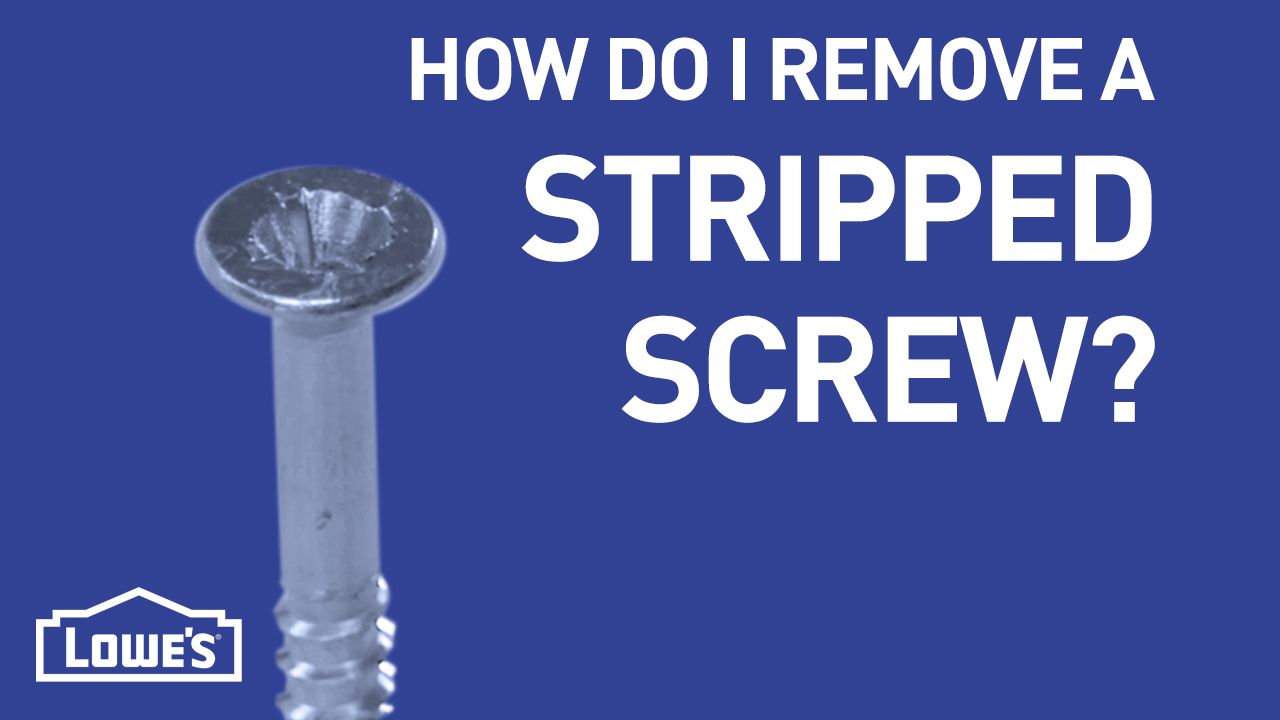
Removing Damaged Screws


Stripped or broken screws can slow down a project, but we’ll show you simple steps to remove the damaged screw and get on with your work.
Consider protecting the work surface from scratches or gouges. Cut a notch in a piece of cardboard and fit the cardboard around the screw before you begin work.
Follow the manufacturer’s instructions for any tool you use to extract a broken screw. Wear the specified safety gear, such as safety glasses and, as necessary, work gloves.
4 Ways to Remove a Stripped Screw
Whatever the reason for the damage, we have several methods for removing a stripped screw.
1: Remove a Stripped Screw With a Rubber Band
A rubber band gives you a quick, inexpensive way to remove stripped screws:
- Find a rubber band wide enough to cover the screw head.
- Place the rubber band over the damaged drive surfaces.
- Insert a screwdriver tip or driver bit into the head, pressing the rubber band into the damaged drive surfaces.
- Keep firm pressure on the screw head and slowly back the screw out.
2: Remove a Stripped Screw With Pliers
If the damaged screw is partially out, you can use a pair of pliers to remove it the rest of the way. Locking pliers or needle nose pliers often work best, but standard slip-joint pliers can also work:
- Clamp the pliers onto the damaged screw head or shank. Make sure you’ve got a solid grip on the screw.
- Slowly rotate the pliers to turn the screw counterclockwise and back it out. Turning too quickly risks snapping the screw.
3: Remove a Stripped Screw With a Screw Extractor

Screw extractors have a drilling or grinding bit and an extractor bit. Many screw extractors work with a drill/driver. Here are the general steps for using a screw extractor, but follow the instructions for your extractor:
- Install the correct drilling or grinding bit in a drill/driver. Kits include different-sized bits for different-sized screws. Some extractors are one-piece bits that work with multiple sizes.
- Drill a pilot hole into the screw head, according to the instructions.
- Install the correct size extractor bit.
- Make sure the drill/driver is set to reverse and slowly turn the extractor bit counterclockwise. It should bite into the walls of the pilot hole and back the screw out.
4: Remove a Stripped Screw by Cutting New Drive Surfaces
If none of the other methods work, you can try the more aggressive method of cutting new surfaces for a screwdriver:
- Install a metal-cutting wheel on a rotary tool.
- Turn on the tool and cut a notch across the screw head, deep enough for a screwdriver tip.
- Use a flathead screwdriver to slowly remove the stripped screw.
This is a more advanced method and requires experience controlling a rotary tool. Note that cutting into a screw head produces sparks, so make sure the area is clear of flammable materials.
3 Ways to Remove a Broken Screw
In some cases, if the screw breaks flush or below the surface, you can leave the broken screw in place. Simply drill a pilot hole and drive a second screw about 1/4 inch from the broken one. If you don’t have room to drive another screw, the break isn’t flush or if you’re concerned about the appearance of the work piece, here’s how to remove a broken screw and patch the damage.
1: Remove a Broken Screw With Pliers
If the screw head snaps off while part of the screw shank still extends past the wood surface:
- Grasp the screw shank with pliers. Locking pliers work best.
- Slowly rotate the screw with the pliers until it’s out completely.
2: Remove a Screw That Breaks Flush to the Surface
If the screw breaks flush on a wood surface, you can modify the method above:
- Use a utility knife to cut away wood around the screw to expose some of the shank.
- Fasten needle nose pliers to the shank and rotate the screw out.
3: Remove a Screw That Breaks Below the Surface

If the screw breaks off more than 1/8 inch below a wood surface, you need to remove more material to reach the shank:
- Drill with a 1/2-inch bit to widen the screw hole down to the end of the screw.
- Tap a nail lightly with a hammer to make five or six pilot holes next to the screw on all sides.
- Drill out the holes with a 3/32-inch or 7/64-inch bit to the depth of the screw tip or a bit deeper.
- Use an awl or nail punch to move the screw back and forth and loosen it.
- Grip the shank with needle nose pliers and pull the screw free.
2 Ways to Plug Holes Left by Broken Screws
You can patch small screw holes with wood filler or spackling compound. However, if removing a broken screw creates a large hole, you can plug it.
1: Plug the Hole With a Dowel
If appearance isn’t critical, a piece of dowel makes a simple plug:
- Drill a 1/2-inch-diameter hole centered on the screw hole.
- Cut a segment of 1/2-inch-diameter dowel to length to fill the hole.
- Tap the dowel plug into place. If the fit isn’t tight, secure it with a small amount of wood glue and clean any glue that squeezes out. Sand or use a wood chisel to trim the plug flush.
2: Plug the Hole With Matching Wood

For a nearly seamless look, cut a plug to match the wood type and woodgrain:
- Drill out the hole with a 1/2-inch bit.
- Use a drill and a 1/2-inch plug cutter to create a plug from scrap wood stock that matches the work piece. Drill carefully to avoid splintering.
- Match the direction of the grain, and tap the plug into place. Use a small amount of wood glue if necessary. If the hole is deeper than the plug length, tap in a small piece of dowel, followed by the plug you cut.
- Clean any glue squeeze-out and sand or shave the plug flush with a chisel.
Adapt the hole and plug sizes for your repairs.
How to Prevent Damaged Screws
- Choose screws that are right for the application or material.
- Drill the right size pilot holes for your screws.
- Make sure the screwdriver tip or driver bit matches the screw head size and type.
- Don’t set your drill/driver to a speed that’s too high. Start at a low speed.
- Adjust the clutch on your drill/driver so it doesn’t apply too much torque.
- Don’t overtighten screws.
- Reduce friction with screws 2-1/2 inches or longer by coating the threads with candle wax (beeswax is best).
Our drill/driver tips help you use this versatile tool correctly. We’ve also got guides to help you find the right screwdriver and choose the best drill or driver bit for just about any project.
Key Takeaways: Removing Stripped or Broken Screws
A broken screw is frustrating, but there are several methods you can try to remove it:
- Add grip to a stripped head with a rubber band.
- Back out a damaged screw with pliers.
- Try a screw extractor — they’re designed for stripped screws.
- If you’ve got experience with an oscillating tool and work safely, you can cut a new drive slot.
- Dig out a stubborn broken screw and repair the damaged surface.
You’ve probably got some of the tools and materials you need already, but if not, you can find them on Lowes.com. Or visit your local Lowe’s and talk to a Red Vest associate. They can help you find what you need based on your specific situation and get your project moving again.