


Tools and Materials
Note
Some tools may require batteries. Check the manufacturer’s packing list to see if they're included.
Product costs, availability and item numbers may vary online or by market.
Prepare for Microwave Installation
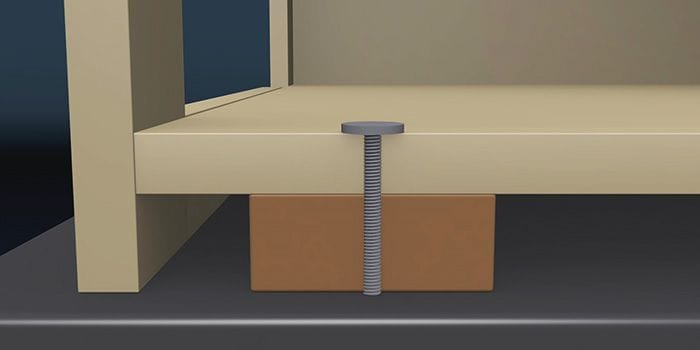
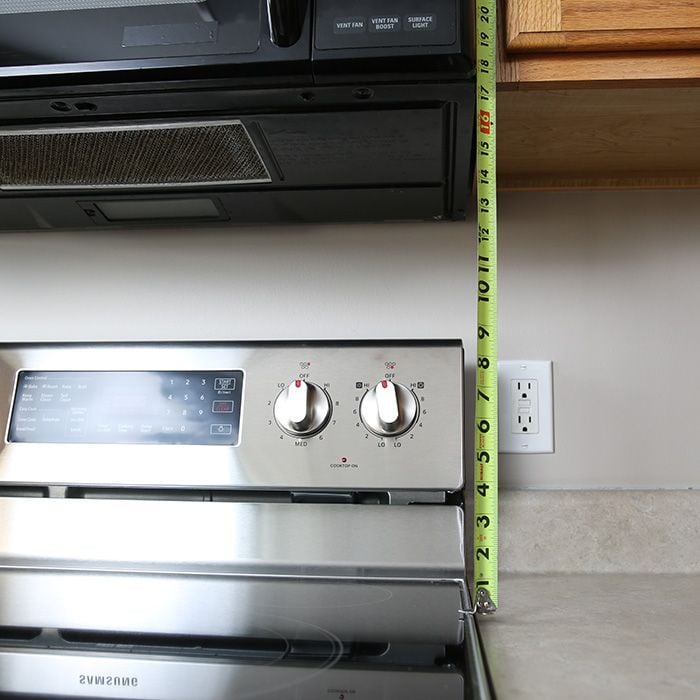
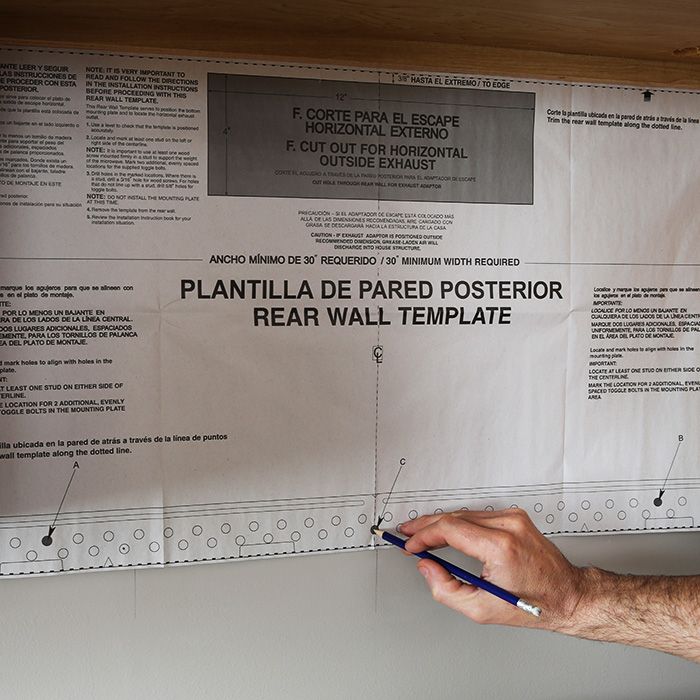
Before installing an over-the-range microwave, take some careful measurements.
Remove the Old Microwave
Have someone help you remove the old microwave and install the new one.


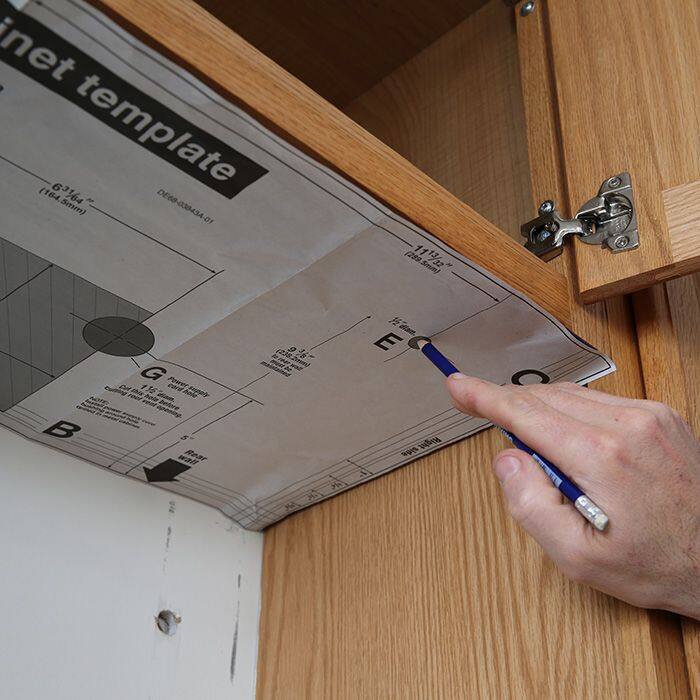
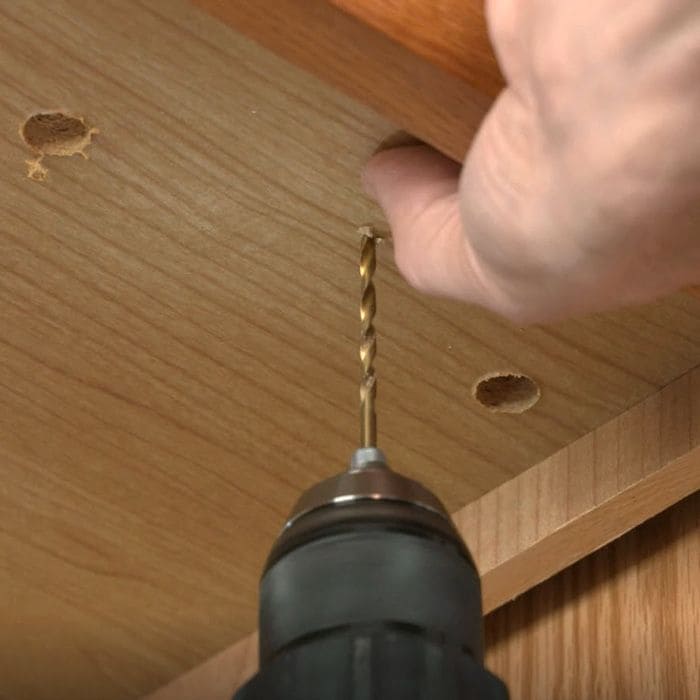
Install the New Mounting Bracket
The general steps for installing an OTR microwave oven are below. Follow the specific installation instructions for your microwave.


Install the New Over-the-Range Microwave
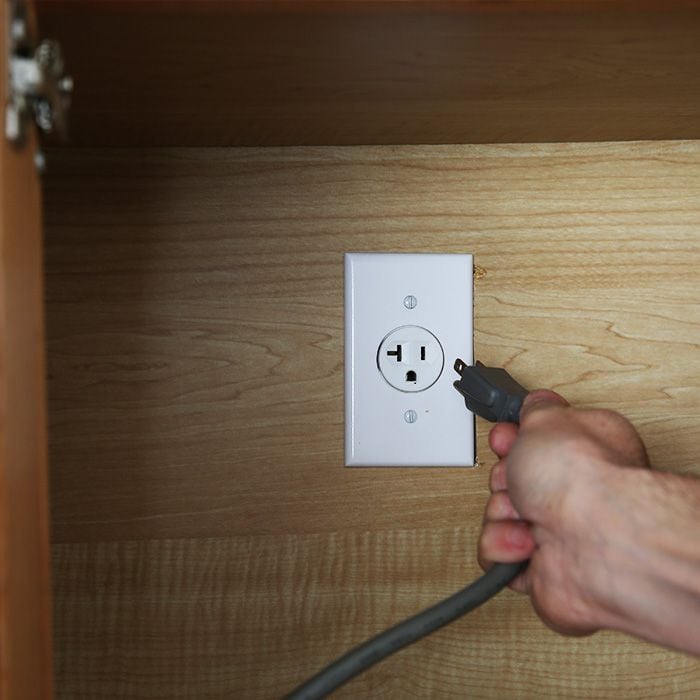
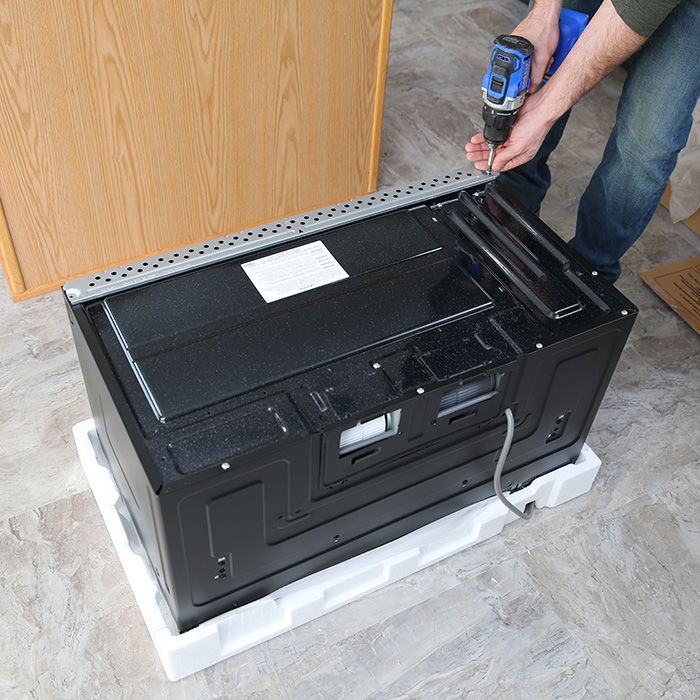
Before you proceed, align the microwave fan to match your exhaust, which will be in the wall or go through the upper cabinet. If you don't have an exhaust duct, you can rotate the fan to exhaust at the front with an OTR microwave model equipped with a charcoal filter.