
Tools and Materials
Step-by-Step Guide for Wine Fridge Installation


Follow the steps below to install the wine fridge the right way.
It’s best to choose an area with proper ventilation. The heat generated from the machine needs space to dissipate properly. This plays a huge role in maintaining the cooling and efficiency of the wine cooler.
- Make sure you can also afford to leave some space around the unit. Most wine coolers require that extra space between the walls of the wine cooler and the exterior walls of the surrounding structure.
- Make sure you have a power outlet nearby for easy connectivity.
- Pick a location away from direct sunlight and heat sources like ovens or radiators.
- Check the floor to make sure it’s level. A well-leveled floor will help your wine cooler sit stable. Use a level for accuracy.
Having a power outlet nearby is crucial. Do not use an extension cord.
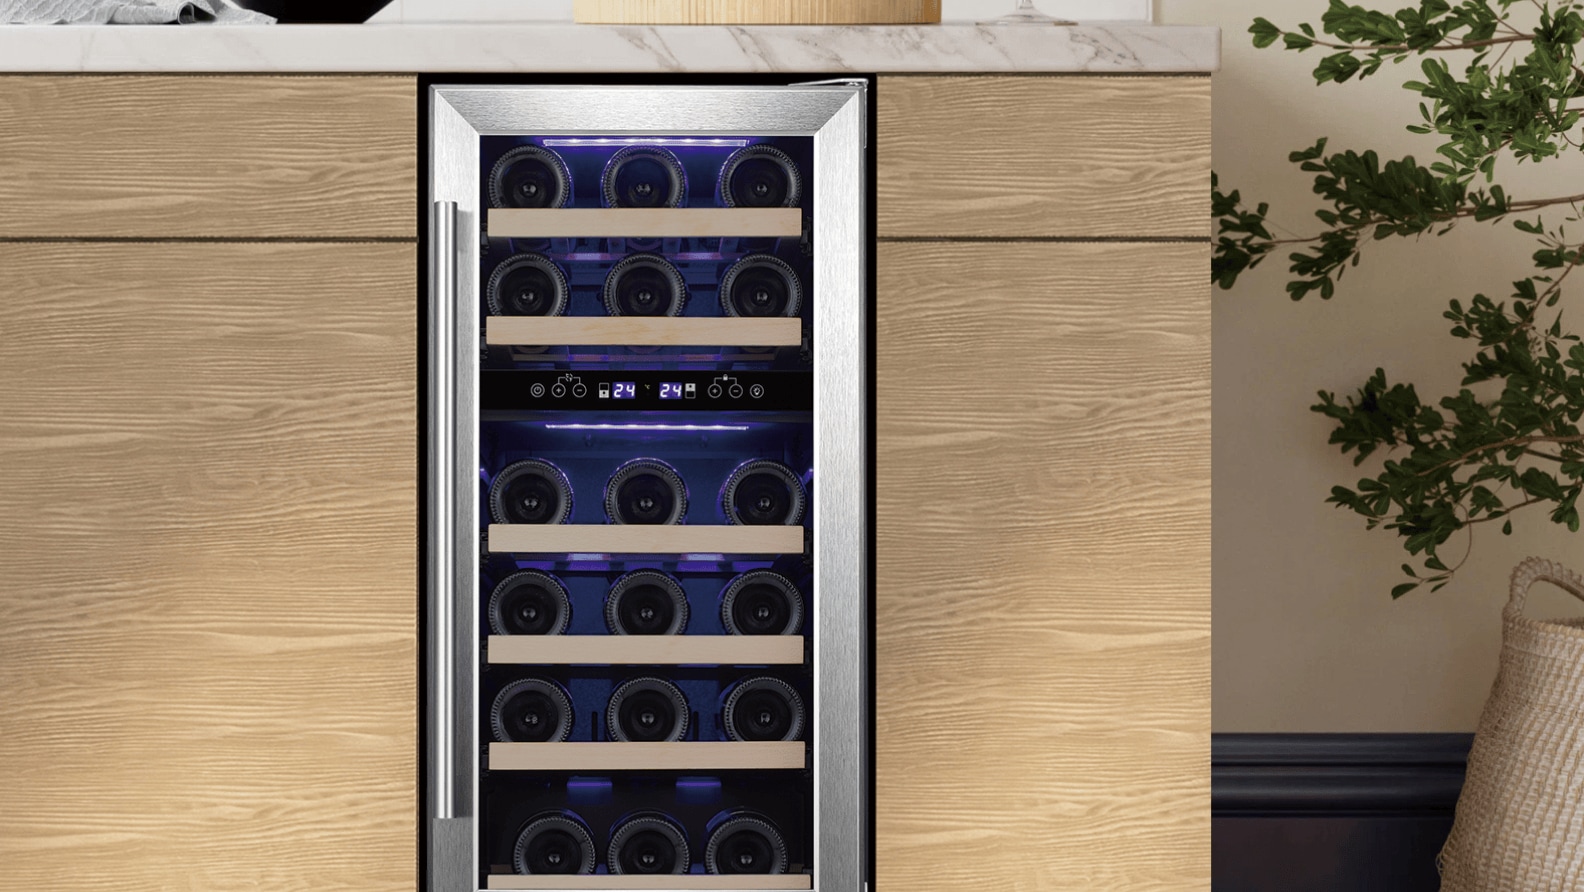
- Having a cabinet cutout is a pre-requirement for installing a built-in wine cooler, whereas a freestanding wine cooler won’t need one.
- Whatever the type, take accurate measurements and leave some space around the unit for ventilation.
- Clean the area properly to get rid of dust and debris.
- If you already have a built-in cooler in place and are looking to replace it or simply relocate, follow the instruction manual to remove it carefully.
- Ask someone for help during the process as wine coolers are fairly heavy.
- Move the wine cooler to the place carefully.
- Ensure the cooler is erect by using a level. Level the feet if needed, to align the unit on the ground or surface where it is to be placed.
- Carefully slide the wine cooler in your cabinet space carefully. Make sure that it fits snugly.
- You may use shims if required to secure it in place.
- Use a level to check if it’s well-aligned before you plug it in and load the wine.
- Find the nearest electric socket to plug the wine cooler.
- Make sure that the electrical outlet voltage meets the requirements of the wine cooler.
- Check the cord to make sure it is secure and not a tripping hazard.
- Refer to any specific instructions in the manual for securing the cooler or making any adjustments.
- For built-in or under-counter options, secure the cooler to the cabinet.
- Use the drill to install the screws and other wall anchors.
- Make sure every adjustment is well-fitted so that the wine cooler does not tip.
Before you switch the cooler on and install your wine, allow the coolant inside the unit to settle for an hour or two.
- Set the temperature for storing your wines depending on the type and variety.
- Allow the cooler to reach the set temperature before you start to store your wine bottles inside. This will help minimize temperature fluctuations and make sure that your wines are properly chilled from the start.
- Do not overcrowd the shelves. Comfort and humidity are critical factors influencing the quality of air in the space to regulate temperature.
Different wines require different temperatures. Check the recommended settings for your cooler.
Now that you know how to install a wine and drink fridge in an existing cabinet, you should make sure all your wines remain chilled to perfection. Maintenance is key. Clean your wine coolers from time to time.
- Every once in a while, use a damp cloth to wipe the interior and exterior of the wine coolers.
- Follow the user manual for any specific cleaning instructions.
- Monitor the temperature and adjust if necessary.