
Tools and Materials
Tools
- Finishing Nailer or Brad Nailer
- Portable Air Compressor
- Air Hose
- Compound Miter Saw
- Circular Saw
- Table Saw
- Power Sander (Optional)
- Drill/Driver
- Tape Measure
- Hammer
- Nail Set/Nail Punch
- Long Level
- Rafter Square/Triangle Square
- Stud Finder
- Pocket Hole Jig
- Paint Brushes
- Paint Roller & Roller Covers
- Roller Trays & Tray Liners
- Locking Clamps
- Paint Sprayer (Optional)
- Caulk Gun
- Work Gloves
- Cleaning Gloves
- Eye Protection
- Hearing Protection
- Respirator/Safety Mask
Product costs, availability and item numbers may vary online or by market.
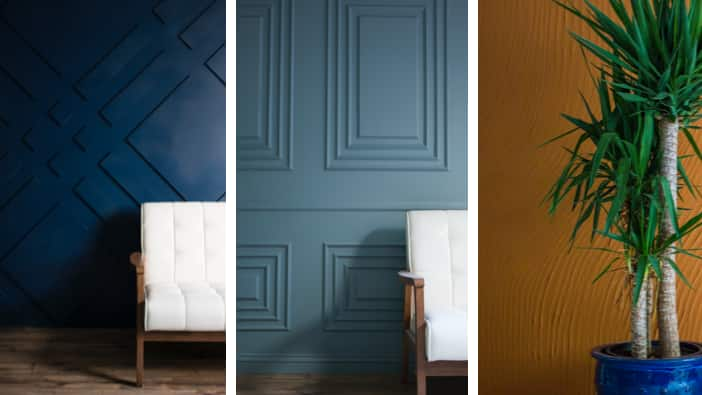
What’s an Accent Wall?


An accent wall is a feature wall that acts as a focal point in a room. It’s one wall that may have different paint colors than other walls, or it may have a design that makes it stand out from the other walls. Our video series “The Wall” demonstrates seven different accent wall designs. These décor ideas use wall panels, blocks, moulding or additional textures to create standout designs. They demonstrate these feature wall projects, along with the tools and materials needed for each. The tools and materials list above includes items that are common to most of the wall designs, and below we have the key steps for creating the designs yourself.
For any of these accent wall designs, it’s a good idea to map out the plan before you begin. A sketched-out plan gives you an idea of the design that you can refer to as you create the wall, and it can also help you determine what pieces you’ll need to cut to create the design. You can print out a picture of your wall or use graph paper.
For some of these designs, you may want to remove baseboards or crown moulding for installation.
These wall designs require paint or stain, and many use texture compounds and adhesive. Make sure you work with plenty of ventilation.
Follow the manufacturer instructions for all tools and materials, including instructions for safety gear.
Diamond Panel Pattern Wall
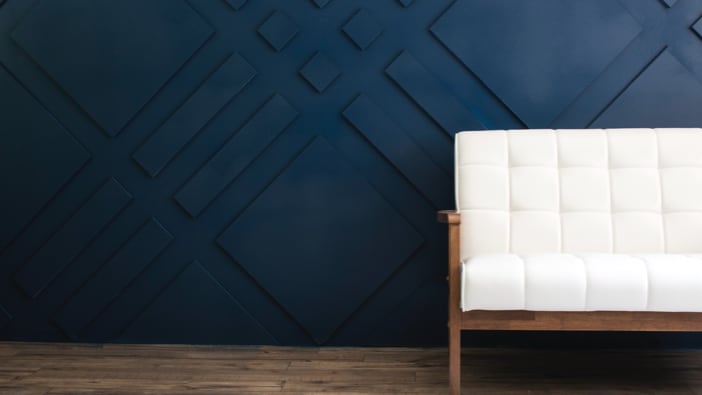
This wood accent wall uses medium-density fiberboard (MDF) panels cut to different sizes and attached to the wall to create diamond designs and accents. The panels add a three-dimensional element to the wall for a bold, geometric pattern that creates interesting shadows.
Instructions
The Off-Kilter Stud Wall
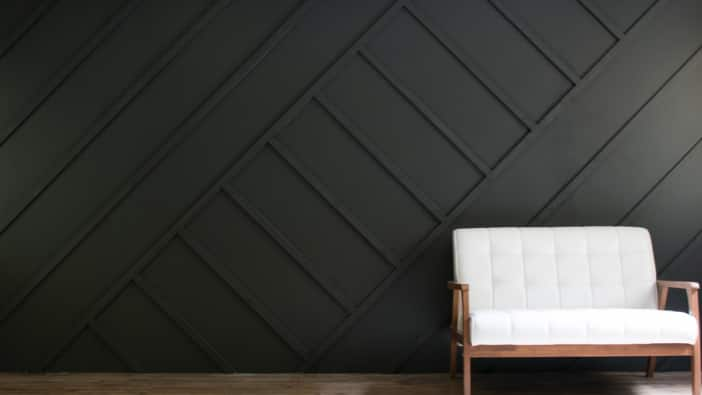
This design builds on the look of a faux stud wall. It’s designed to give the appearance of exposed studs but turns the faux studs into diagonal elements with accent pieces running perpendicular to the primary boards, similar to the blocking on a stud wall. For this design, we’re using 1-inch-by-2-inch pine boards. If you want a less dramatic look, you can use wood paneling, which has a lower profile.
The Wood Faux Brick Wall

With wood blocks cut to size, the right technique and a few extra touches for details, you can give an interior wall the look of brick and mortar, adding a classic, architectural look to any room.
The Built-In Bookshelves Wall
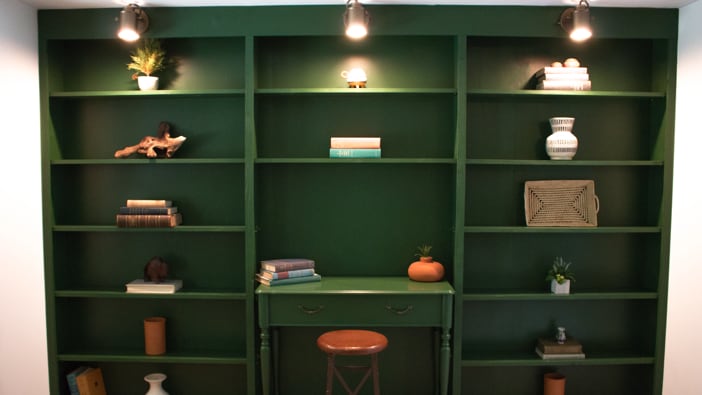
This design doesn’t just give you an accent wall; it’s a simple way to create the look of a built-in bookshelf. The design includes a frame around the perimeter of the wall, a couple of vertical columns to help support the shelves, and wood facing to give it a finished look. This wall uses removable shelf pins and shelves so you can easily change the look whenever you like.
The Wood Slice Mosaic Wall

This project is time consuming, but it really gives your wall a dramatic, customized look. Finishing it with different, complementary colors of paint can make an even bolder statement. We’re going to use plywood as a base. This technique will allow you to remove the entire wall accent relatively easily, leaving only a few screw holes to patch.
Instructions
The Terra Cotta Ripple Wall

Add the warmth and texture of terra cotta to your wall with this look. Unlike the other ideas in this series, this accent wall uses only a small amount of lumber. You create the look with wall texture compound and paint. You’ll simply mix and apply the texture and then paint with a color that gives you a terra cotta look. This design is good for a room that gets a lot of natural light. The light creates interesting shadows as it moves across the wall.
You may want to remove any moulding or baseboards before you begin.
Instructions
The Fancy Triple-Trim Wall

This elegant design uses multiple applications of moulding with a triangular profile, creating subtle color variations as light hits different faces of the trim work. We created nested, picture-frame-style rectangles at the top and bottom of the wall, with a chair rail separating the large, upper designs from the smaller, lower designs.