
Pipe Freezing Prevention: What Temperature Do Pipes Freeze?
Water expands when it freezes. Exposure to temperatures at or below 20 degrees F can cause exposed pipes to freeze. In pipes, the expansion can cause ruptures. The damage often occurs not at the point where a pipe has frozen, but between the freeze and a faucet. As the ice blocks the pipe completely and expands, the water pressure in the pipe increases. Too much pressure will cause a broken pipe.
In northern regions of the United States, pipes are typically protected in insulated spaces, reducing the risk of freezing. In southern climates, where subfreezing temperatures are less common, pipes may not be as well protected. Pipes that run through exterior walls are particularly at risk, but those that run through uninsulated attics and crawlspaces can also freeze. In either region, extended subfreezing weather, cracks in walls or foundations and entry points for pipe and cable put pipes at risk. Poor insulation increases the vulnerability. Outside the home, hose spigots are also at risk.
When temperatures drop below freezing, unprotected pipes can freeze from a combination of exposure, windchill and the duration of subfreezing weather. The risk of frozen pipes is high in Southern climates because there are many pipes located in unheated areas of homes.
Make sure you know how to turn off your home’s water supply. You may need to turn off the water for the procedures below. If your pipes do freeze or rupture, you’ll need to turn off the water quickly. Check your insurance policy to see if it covers flooding from ruptured pipes.
How to Repair A Frozen or Burst Pipe


Despite your preparation, you may still have know how to fix frozen pipes. If caught in time, thawing out a frozen pipe can help avoid further problems. However when a pipe ruptures, act quickly to prevent as much water damage as possible. You may be able to make temporary repairs to the pipe until you can get professional help from a plumber. Here are some steps you can follow to thaw and repair them.
How to Fix a Frozen Pipe
How to Repair a Burst Pipe
When a pipe ruptures, act quickly to prevent as much water damage as possible. You may be able to make temporary repairs to the pipe until you can get professional help from a plumber.
How to Prevent Pipes From Freezing
Many of the repairs and improvements that help prevent frozen pipes are basic ways to conserve energy and keep cold air outside and warm air inside during the winter.
How to Prevent Frozen Pipes in Winter Long Term

- Locate and seal cracks and openings in the walls, attic, basement or crawlspace.
- Weather strip and caulk around crawl space doors and basement windows.
- Make sure to properly insulate your home to retain warmth during the winter. Pay particular attention to areas with pipes. See our insulation how-to guide for instructions for insulating different areas of your home.
- Insulate unprotected pipes, being careful to avoid leaving gaps. You can use pipe wrap insulation — that you wind around the pipes — or tubular pipe insulation. Tubular insulation is simple to install. Cut the tubing to size with a utility knife or shears and cut pieces to fit around elbows in the pipe. Split the tubing and wrap it around the pipe. Loosely wrap a bit of duct tape around the insulation along the way to keep it secure and keep the pieces together.
- Install pipe heat cables that are thermostat controlled and Underwriters Laboratories (UL) listed. Make sure the cables are appropriate for your pipes and follow the manufacturer’s instructions for installation. Some manufacturers recommend unplugging the cables at the end of the season. Just remember to plug them back in before the next winter arrives.
- Install storm windows over basement windows or replace the old windows with energy-efficient models.
If you need help making improvements to prevent frozen pipes, contact a licensed builder or plumber. You may be able to have a plumber move exposed pipes to areas that are less likely to freeze.
How to Protect from Freezing Pipes: Short Term Steps

If you don’t have much time to prepare, there are still steps you can take to protect your pipes. Whether you’ve made the improvements listed above or not, these measures help reduce the risk from subfreezing temperatures.
- Close and drain any exterior faucets with cut-off valves if your home has them. Water left in the faucets can freeze and cause damage.
- Disconnect garden hoses from exterior faucets to prevent water from freezing in the hoses and rupturing the faucets. Drain the hoses and, if possible, store them in a place that protects them from cold weather.
- Cover exterior faucets with insulated covers or faucet socks. While they can’t protect pipes from all subzero temperatures, these covers help retain warmth from the home’s interior and protect the faucet from direct contact with exterior air. They also provide a visual reminder not to use the faucet during freezing weather.
- Close foundation vents to help keep cold drafts out of the crawlspace and keep warmth from the house inside the space.
- Fix broken basement windows. Cracked or broken windows allow cold drafts to enter the space and allow warm air to escape.
- Open cabinet doors under sinks to let warm air flow around the supply lines. Be sure to move any cleaners or chemicals so they’re out of the reach of children.
- Keep your thermostat at the daytime setting during the night. If you’ll be away for several days during subfreezing weather, keep the thermostat set above 55 degrees Fahrenheit. This helps keep the air around the pipes warm, so they resist freezing.
There may be other areas around your home that need attention. Irrigation systems, swimming pool supply lines and equipment in unheated garages — such as washing machines, water softeners and pressure washers — are at risk. Water can remain in these items and cause damage if it freezes. Follow the manufacturer’s instructions for winterization.
Once subfreezing weather arrives, check the water flow in your plumbing system periodically. If you notice a drop in water pressure, it might be a signal that the pipes are beginning to freeze. Leave the faucets open to keep the water flowing slightly and relieve pressure.
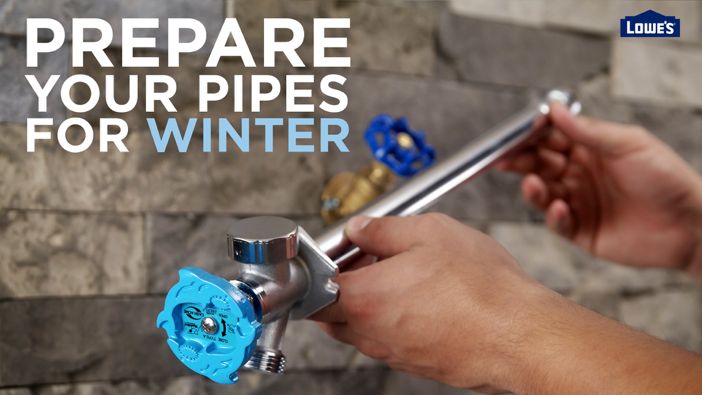
Should I Install a Frost-Free Spigot or Sillcock?

Exterior faucets and the pipes that supply them are at particular risk in subfreezing weather. Prolonged temperatures at or below 20 degrees F can cause pipes and faucets to freeze. Installing a frost-free faucet or sillcock can help reduce the risk. These are also known as a frost proof hose bibb or spigot. Unlike a standard exterior faucet, a frost-resistant sillcock includes a long pipe that positions the shut-off valve several inches inside the home structure. Once you turn the faucet off and drain the remaining water from the faucet, the design keeps the water in the pipes farther from the cold outside air. Note that this installation is typically not suitable for a home built on a slab.


